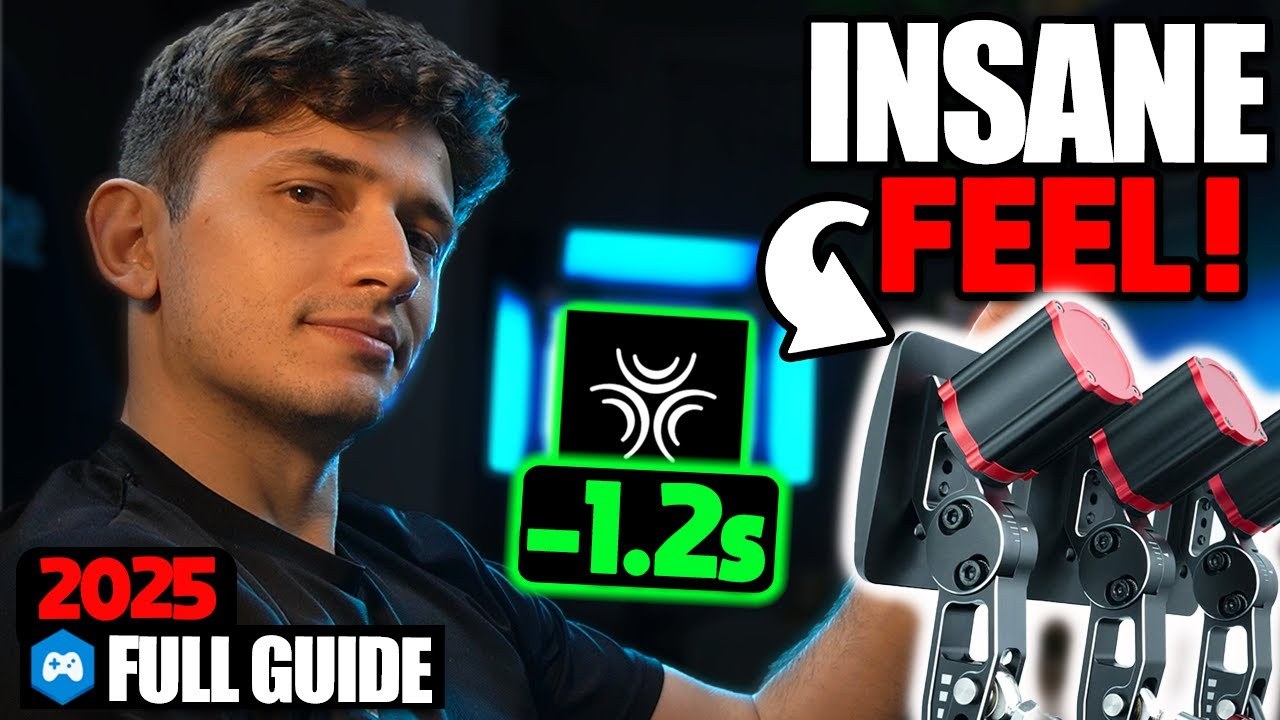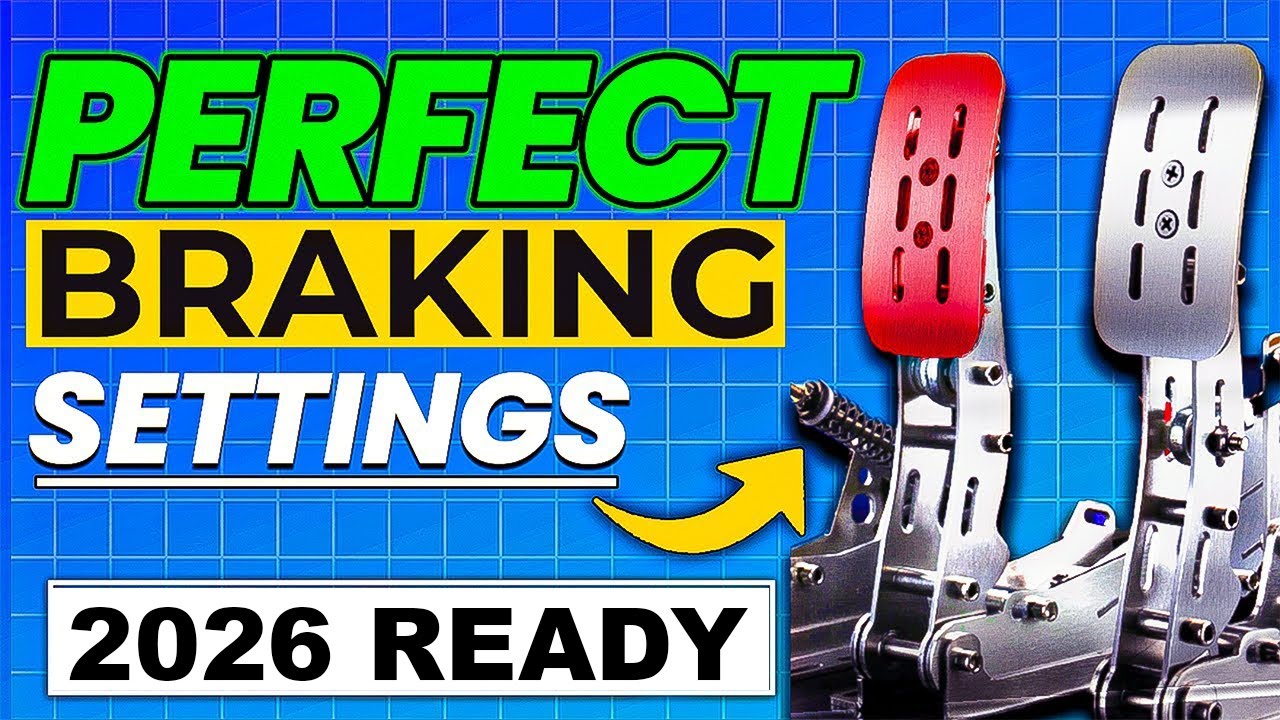
How to Mount Simagic Haptic Pedal Reactors to Heusinkveld Pedals
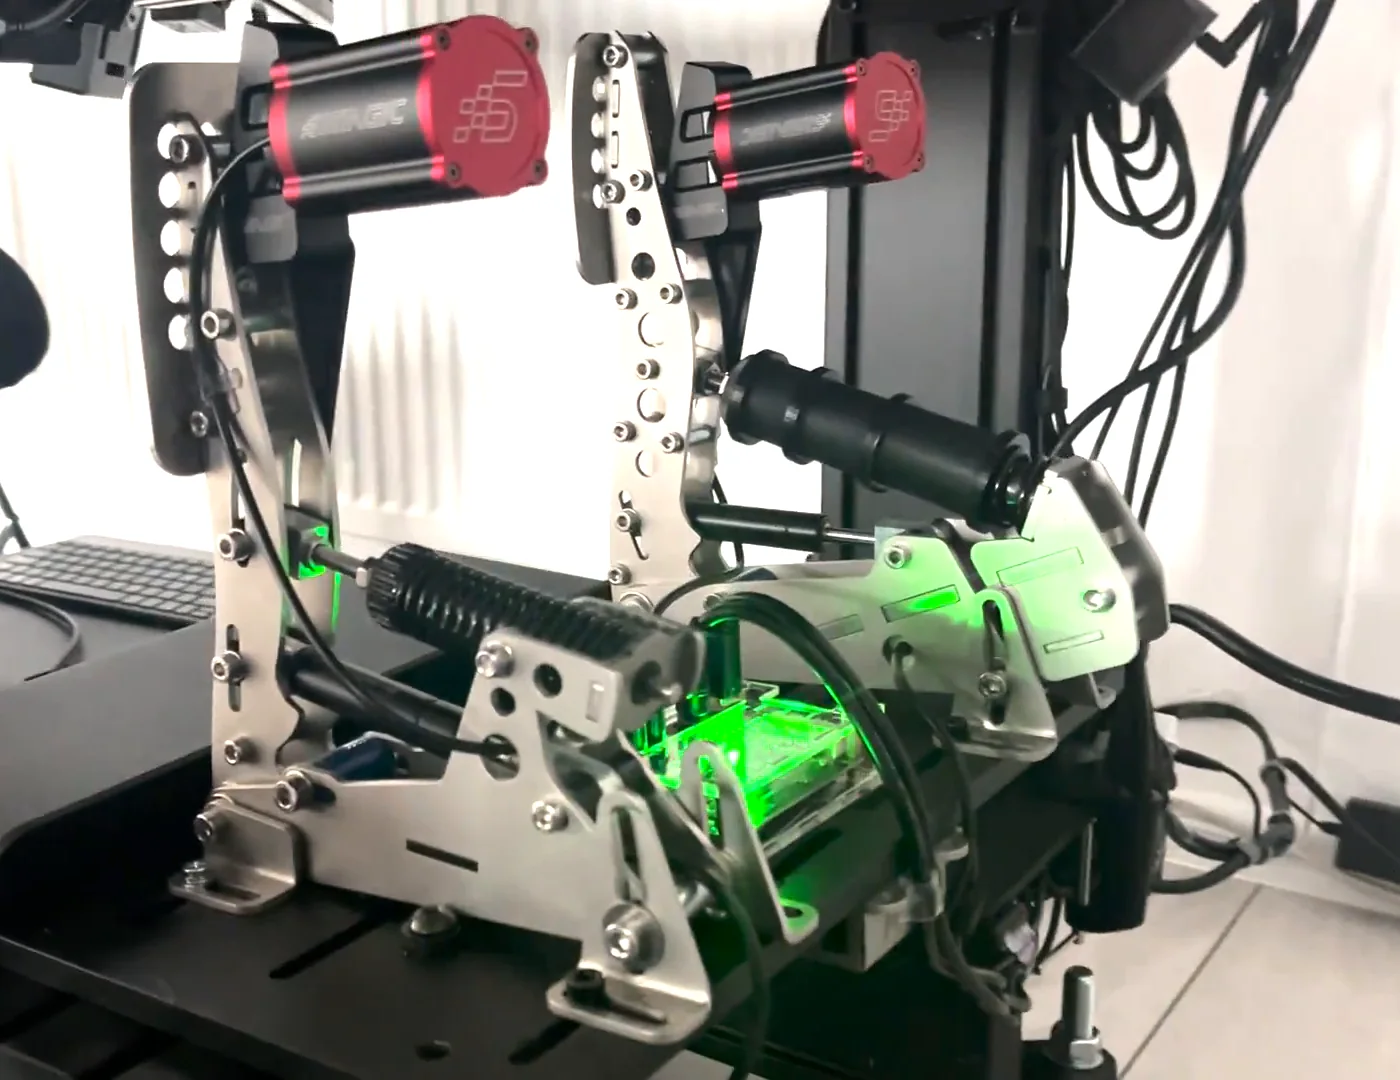
Yes, you can fit Simagic haptic pedal reactors to Heusinkveld pedals, and you do not need a custom 3D printed mount to do it. Everything required is sold by Simagic already — the trick is simply which parts to order and how to orient the bracket before it goes anywhere near the pedal. This walks through the whole fitment, including the one bolt you reuse and the warranty note you should read before you start.
It works on Heusinkveld Sprint and Ultimate+ pedals, and on the earlier Ultimate set that Ultimate+ replaced. Nothing about the method is specific to a pedal model beyond the mounting bolt you borrow, which is why it transfers across the range.
What you need to buy
All of this comes from Simagic except the last item:
- Haptic pedal reactors — one, or two if you want them on both throttle and brake.
- The haptic control box — this is what the reactors actually connect to.
- Brackets — again, two if you are doing two pedals.
- The power supply — the reactors need powering; it is a separate item.
- A USB-A cable — not included, and the one thing you buy elsewhere. It carries the connection from the control box to your PC.
That last one is worth checking before you start rather than discovering mid-install. Confirm which connector the control box takes at its own end when you order, because that detail varies and the box will not do anything without it.
A note on which reactor and which control box
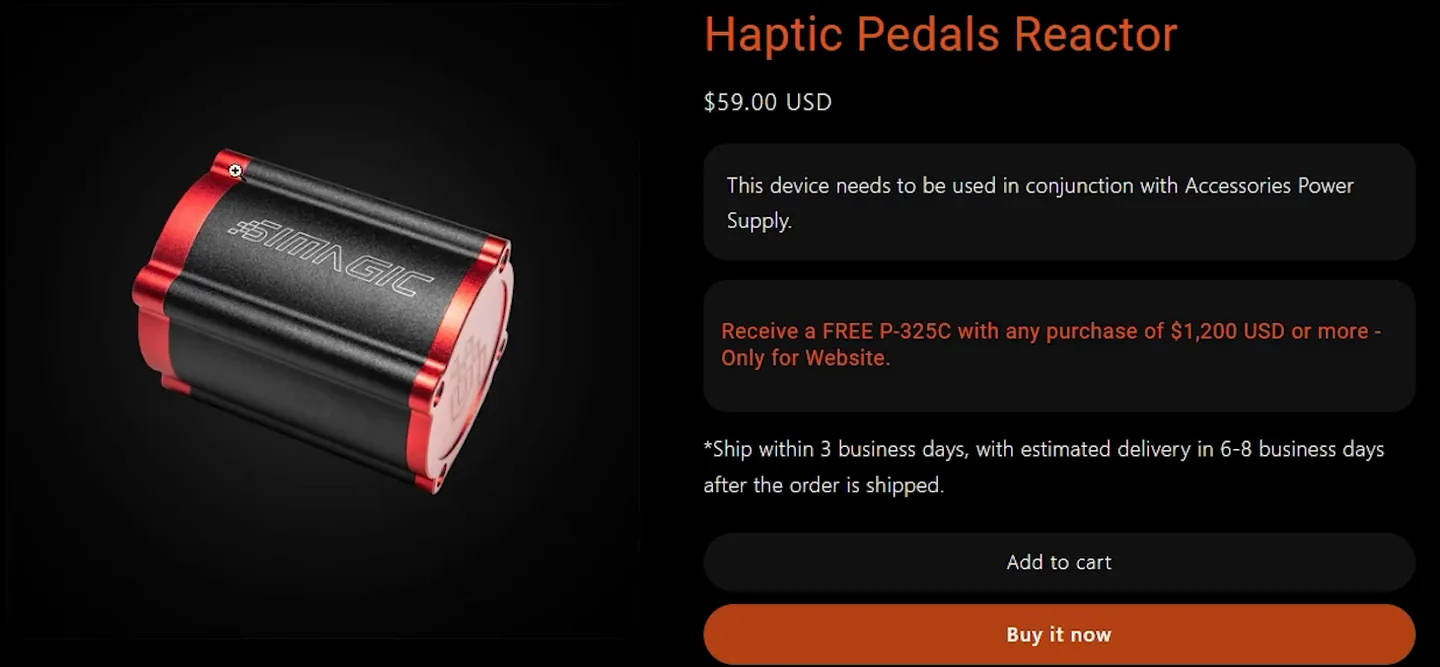
Simagic's haptic pedal reactor is sold under the P-HPR name, and there is now more than one variant in that family — they do not all use the same motor arrangement or ship with the same brackets. Check on Simagic's own product page which variant you are buying and what is in the box before ordering brackets separately, because one of them includes its own.
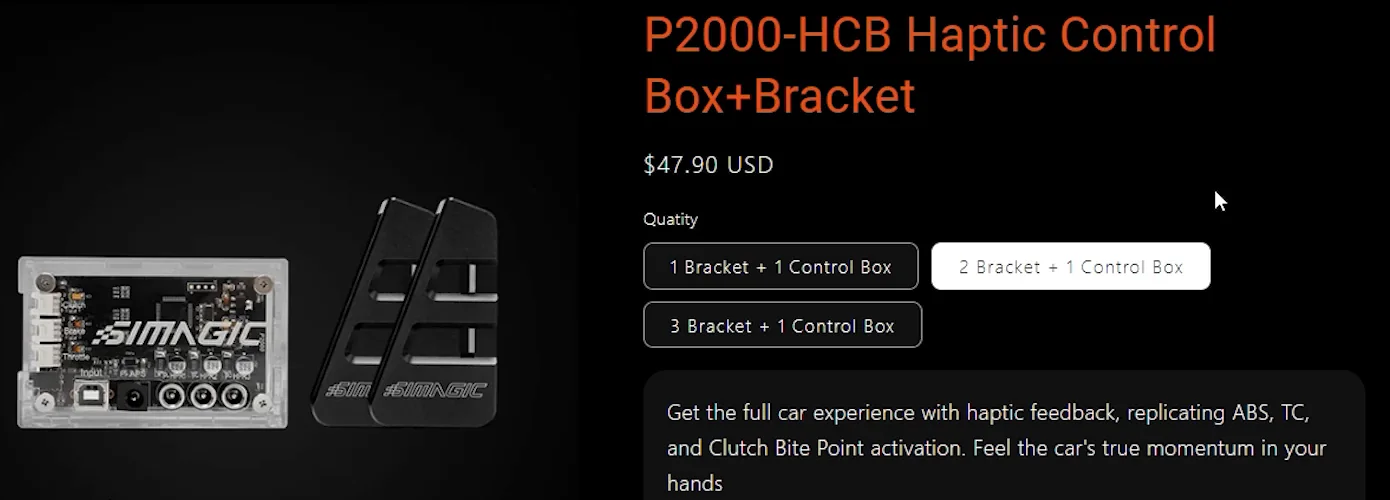
The control box is the P2000 Haptic Control Box. This one causes real confusion: P2000 on its own is the name of a Simagic pedal set, so searching for "P2000" will show you pedals rather than the haptics accessory. It is also sold in a version bundled with a bracket, which may be the cheaper route if you were buying a bracket anyway.
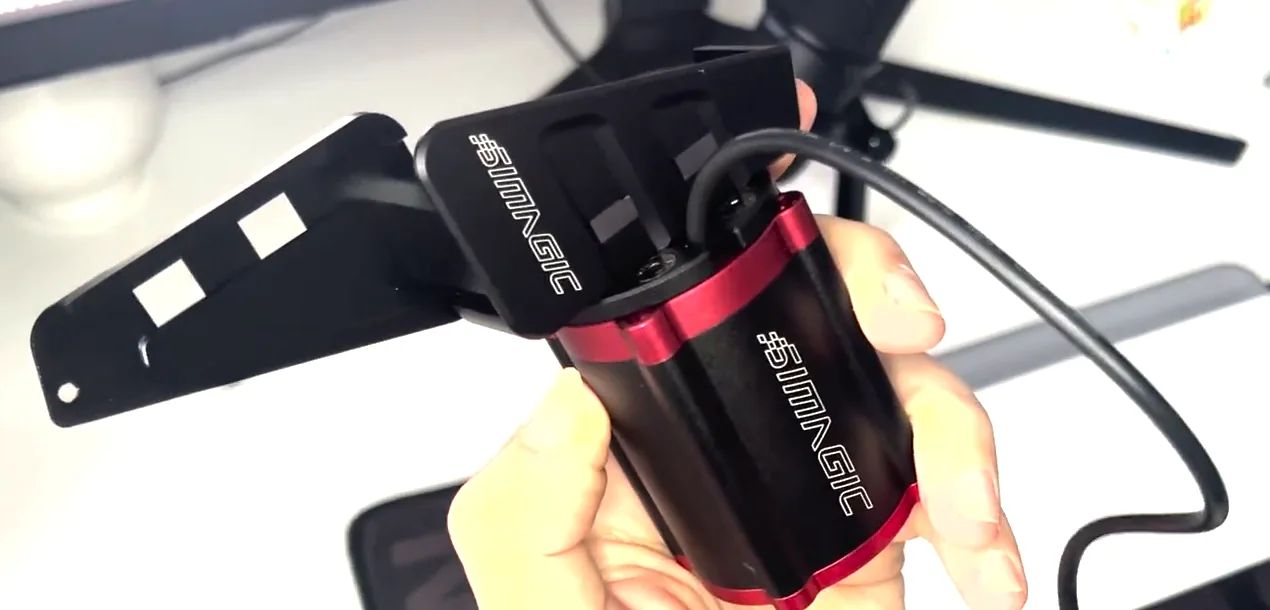
Simagic does not sell a bracket made for Heusinkveld pedals, and nothing in this guide is an official Simagic mount. What you are doing is reusing their own bracket in an orientation that happens to work — which is exactly why no 3D printing is involved.
What Simagic says about warranty
Read this before you order anything. Simagic states on its P-HPR product page:
"Please note: P-HPR is exclusively designed for SIMAGIC products. Any modifications on non-SIMAGIC pedal sets will not be covered under warranty."
So this is an unsupported combination by the manufacturer's own words, and that is worth knowing rather than discovering later. In practice nothing here modifies the reactor itself, and nothing is drilled or cut — but the sentence above is Simagic's position and I would rather quote it than paraphrase it. Heusinkveld has published nothing either way on fitting third-party accessories to their pedals; if that matters to you, ask them directly.
And the obvious one, which applies to anything you attach to a brake pedal: this is a braking device. Do it carefully, check it is solid before you drive, and accept that you are doing it at your own risk.
Assembling the bracket to the reactor
You start with three things: the reactor, the round part of the bracket, and the bracket itself. The order matters slightly.
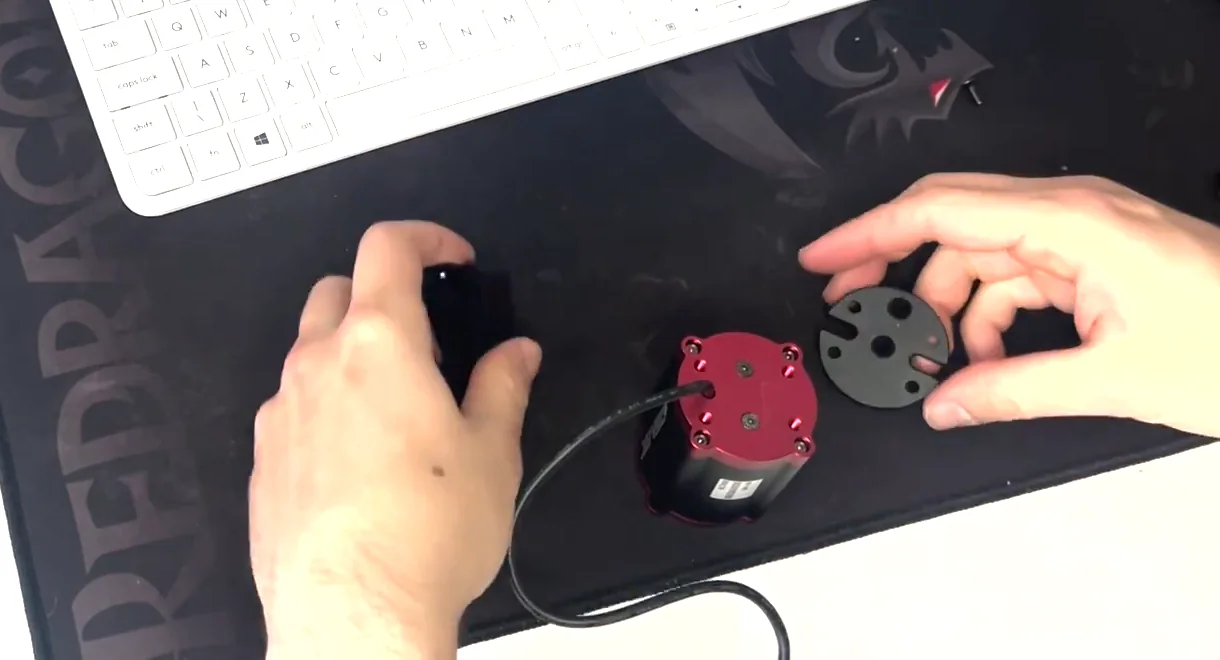
Bracket assembly, in order
- Mount the round part onto the bracket first, while you still have easy access to both.
- Then mount that bracket on top of the reactor.
- Now add the other part of the bracket — and this is the step people get wrong. Do not line it up flush. Set it so it continues the line of the first bracket but angles downward.
The end result should be one part of the bracket pointing up and the other pointing down. That offset is what lets the assembly meet the Heusinkveld pedal at the right place — flush, it will fight you.
Reusing the pedal's own bolt
There is no new hardware for this step. The bolt that holds the assembly on is a bolt already in your Heusinkveld pedal.
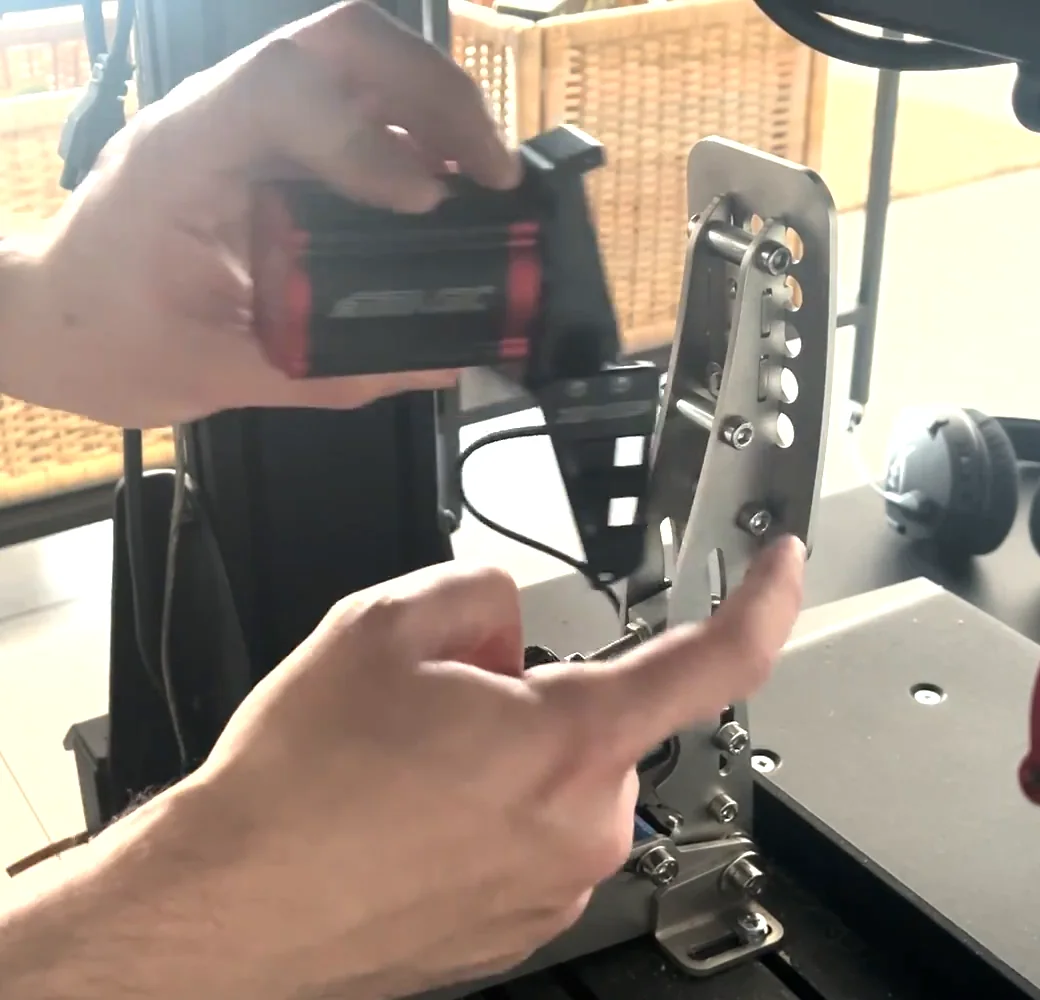
Line the bracket up so that bolt passes through the first hole of the bracket you just mounted to the reactor. Then take an Allen key and remove that bolt from the pedal — slowly and steadily. Nothing springs apart and nothing shifts out of alignment when it comes out; the pedal does not depend on it to stay together, so you can take it out without drama. Then put the same bolt back through the bracket and into the pedal.
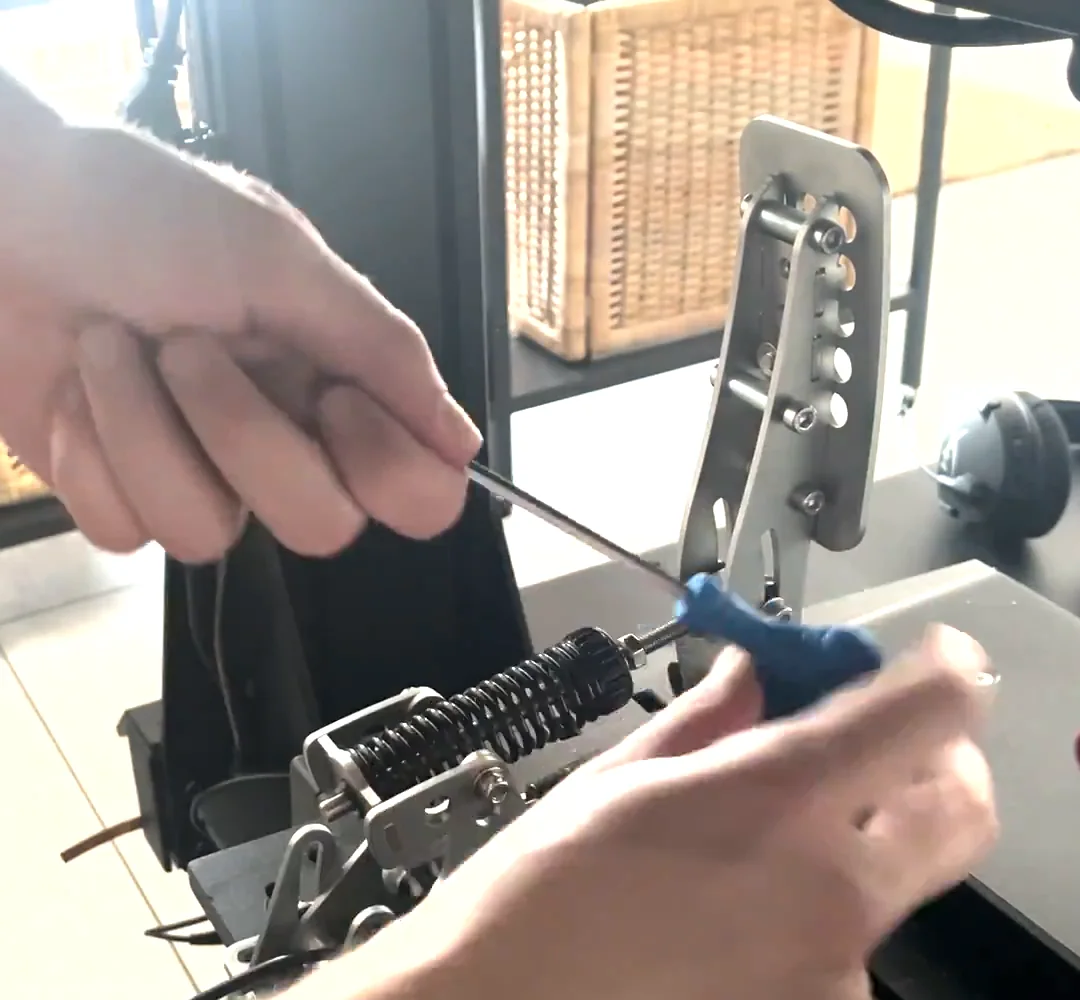
One addition that makes a real difference: add a washer under the head. It lets the bolt pull the bracket down harder against the pedal, and it is the difference between an assembly that is merely attached and one that does not move at all.
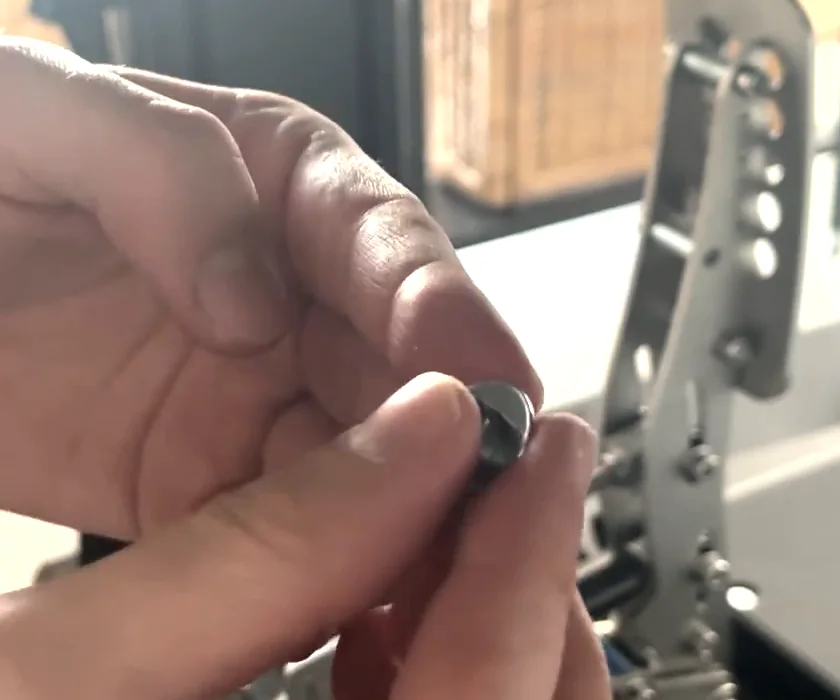
Tighten it up and check it by hand. It should feel completely solid — however hard you press the pedal under braking load, the reactor should not shift or come loose. If there is any movement at all, take it apart and look at the bracket angle again before you drive.
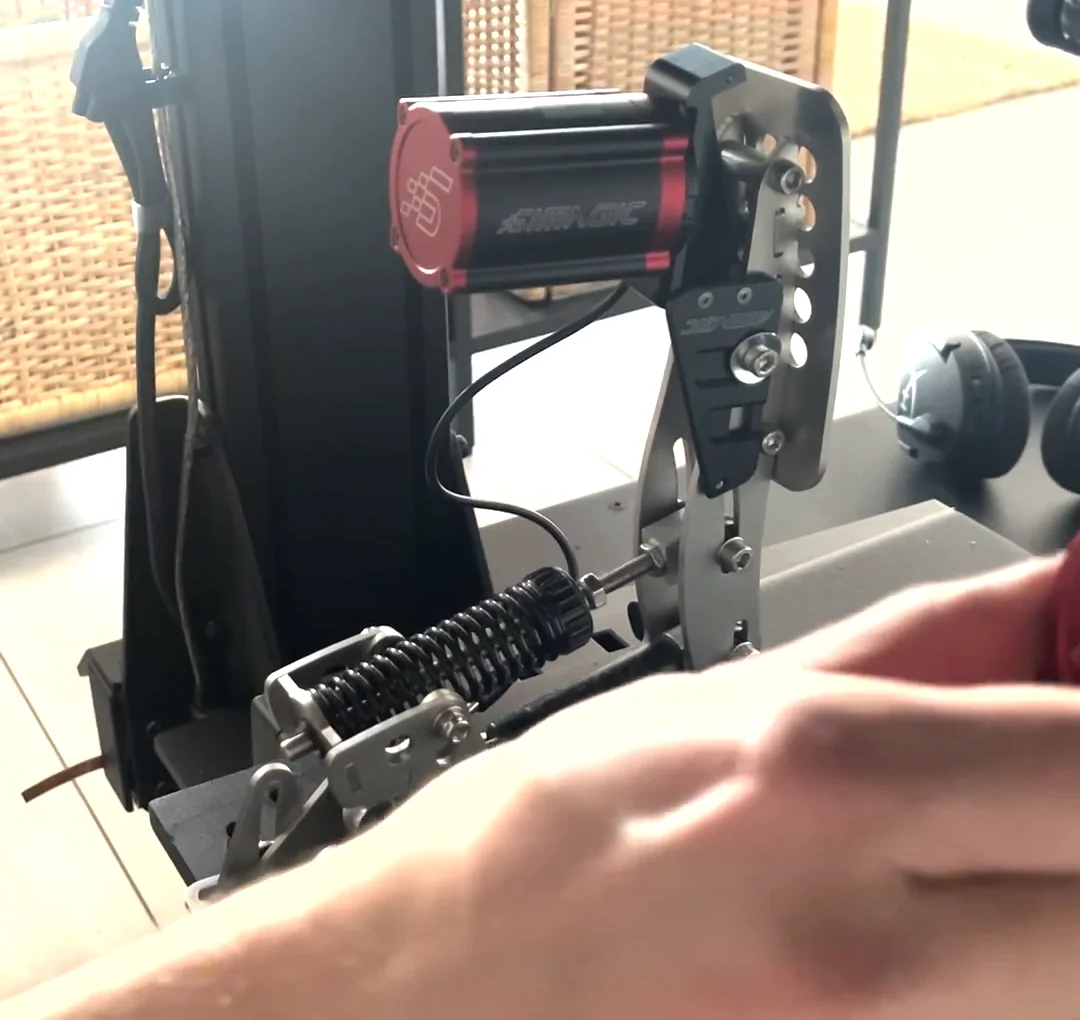
Wiring the control box
Put the control box close to your pedals. This is not aesthetic advice — the cables running from the reactors to the box are short, and if the box lives at the other end of the rig they simply will not reach.
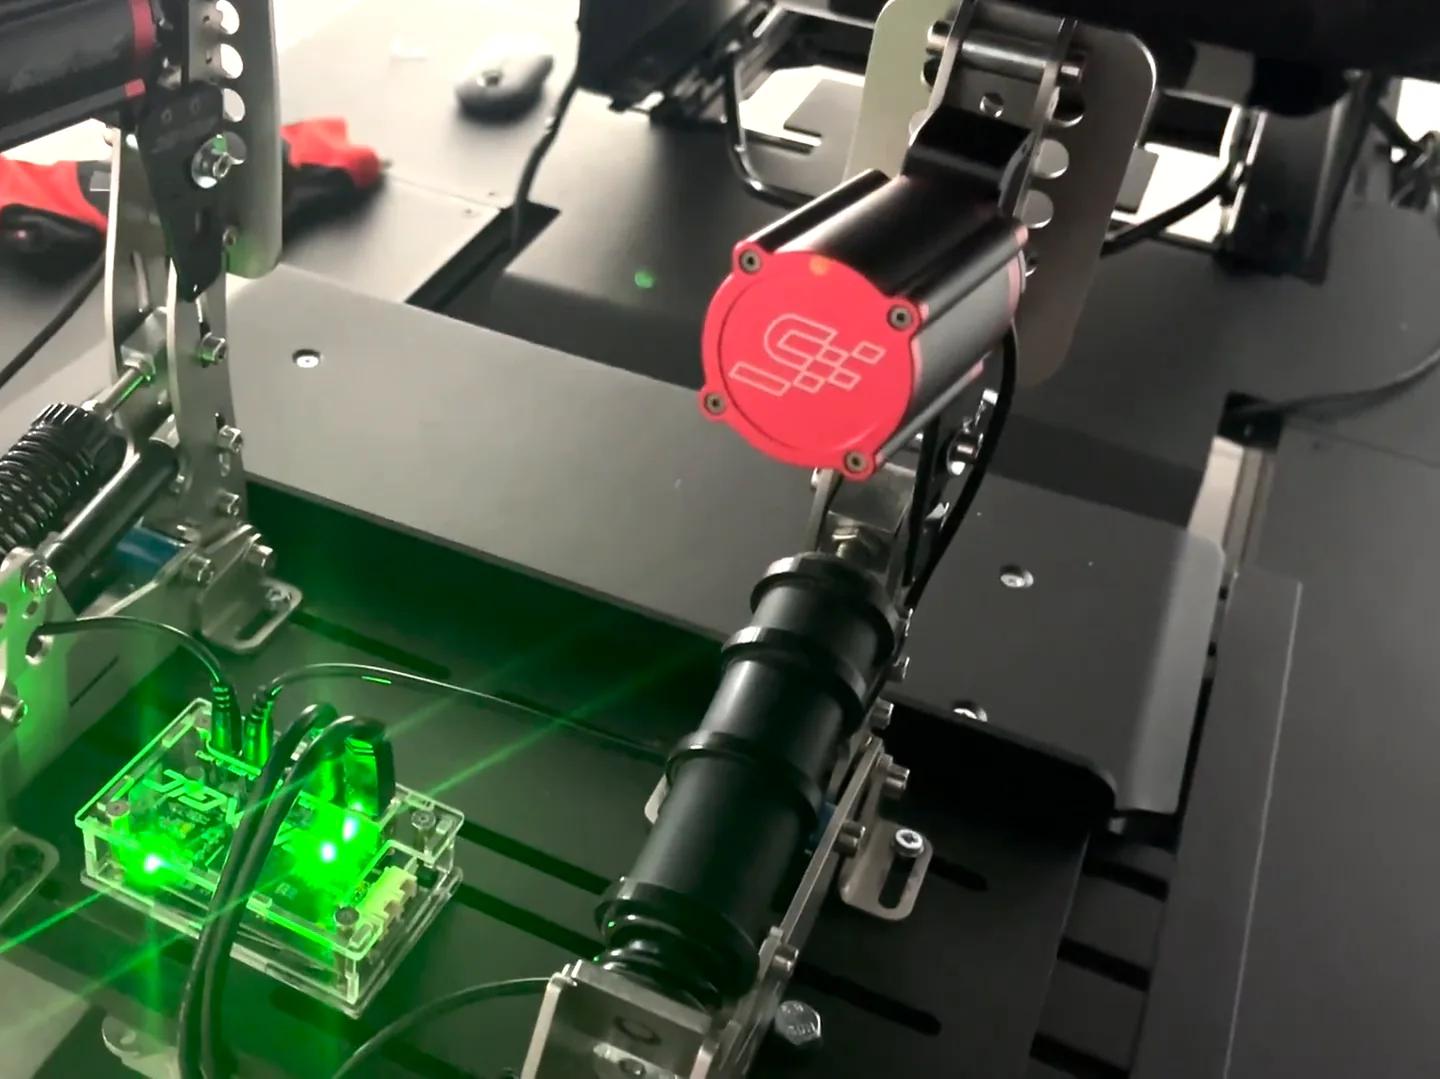
From there it is two connections: power to the box from the supply you ordered, and the USB cable from the box to your PC. That is the whole electrical side.
What this actually changes, and what it does not
Worth being clear so expectations match the result. Fitting reactors adds vibration to the pedal. It does not change your brake feel, your pedal travel, your load cell curve or the force required — none of the mechanical characteristics that determine how repeatably you can brake are affected by bolting a haptic motor to the side.
If what you actually want is to change how the pedal feels underfoot rather than what it can tell you, that is a different job entirely and it starts with brake pedal settings. And if your pedals move at all under heavy braking, fix that first — brake pedal tips covers mounting rigidity, and there is no point adding a vibration source to a pedal set that is already shifting under load.
If your pedals are not Heusinkveld
The general principle transfers to plenty of other pedal sets: look for an existing bolt on the pedal body that you can borrow, and set the bracket at an angle rather than flush so the reactor sits clear of the pedal's travel. Whether that works on your specific pedals depends on where the fasteners are and how much room there is behind the face.
If nothing on your set lends itself to it, a custom part is the fallback, and the cheap sim racing mods guide covers how to find a printed mod for a specific pedal set. The Heusinkveld case is the lucky one — the bolt is already there and in the right place.
Now go and set them up
Bolting the hardware on is genuinely the easy half. What decides whether haptic reactors are worth having is which effects you put on which pedal, and that is where most people undo the work — putting surface effects on the brake pedal, for example, will move your brake trace by a couple of percent, which is the last thing you want in the trail-braking range.
The full configuration, including the effects I run on each pedal and the values behind them, is in my SimHub bass shaker and pedal haptic settings. If you would rather find out whether your braking is the thing costing you time before you spend an evening in a settings menu, the GitGud Racing Academy reviews a lap and tells you directly.
Simagic haptic reactors on Heusinkveld pedals FAQ
Can you use Simagic haptic reactors with Heusinkveld pedals?
Yes, and it works on Heusinkveld Sprint and Ultimate+ as well as the earlier Ultimate set. The reactor mounts to a bracket, and the bracket is held on by a bolt already present in the pedal, so nothing is drilled or cut. Note that Simagic states the reactor is designed exclusively for its own products and that modifications on non-Simagic pedal sets are not covered under warranty, so read their terms before ordering.
Do you need a 3D printed mount for Simagic haptic reactors?
Not for Heusinkveld pedals. Every part you need is sold by Simagic already, and the trick is orientation rather than fabrication: the second piece of the bracket is deliberately not lined up flush, but set to continue the first piece while angling downward. That offset is what lets the assembly meet the pedal in the right place. On other pedal sets a custom part may still be the fallback.
What do you need to buy to fit Simagic haptic pedal reactors?
From Simagic: the haptic pedal reactors themselves, one per pedal you want them on, the haptic control box, a bracket per reactor, and the power supply, which is a separate item. The only thing not included is a USB-A cable to connect the control box to your PC, which you buy anywhere. Check which reactor variant you are ordering, since the family has more than one and they do not all ship with the same brackets.
Do haptic pedal reactors change how the brake pedal feels?
No. They add vibration, not feel. Your pedal travel, load cell curve and the force required to reach a given pressure are all unchanged by bolting a haptic motor to the side. If what you want is to change how the pedal feels underfoot, that is a different job involving elastomers, springs and preload. It is also worth making sure the pedals do not move under heavy braking before adding a vibration source to them.
This guide is part of the free library at GitGud Racing Academy — an online sim racing academy built around weekly lap reviews, structured courses, drills and training tools.
Train this the right way
Reading is step one. Build it into muscle memory with structured, car-specific courses and personal lap reviews from a coach — inside the Academy.
Join the Academy · $49.99/mo incl. VATWatch the full video on YouTube