Weight Transfer in Sim Racing Explained
Weight transfer is the redistribution of vertical load between a car's four tyres when it slows down, speeds up or turns. Nothing inside the car slides around. What changes is how hard each contact patch is pressed into the road, and with it how much grip each tyre can give you. "Weight transfer" is the term drivers use; from here on this page calls it load transfer, because that is what it is.
It is not the same thing as the body roll and pitch you see on a replay. Roll and pitch are the body moving on its springs; load transfer is what the tyres feel. Springs, bars and dampers decide how quickly the load arrives and how it is split between front and rear, but a stiffly sprung car that barely leans still moves almost the same total load through the same corner. A car can look flat and still have a very light inside front tyre.
Below: the two directions load moves in, what braking, releasing the brake, cornering and accelerating each do to the tyres and how you notice it, and then the advanced part, which is why the timing of those inputs decides whether a load change turns into rotation. If your car simply will not turn and you want the step-by-step fix, that lives on how to get more car rotation.
Longitudinal and lateral load transfer
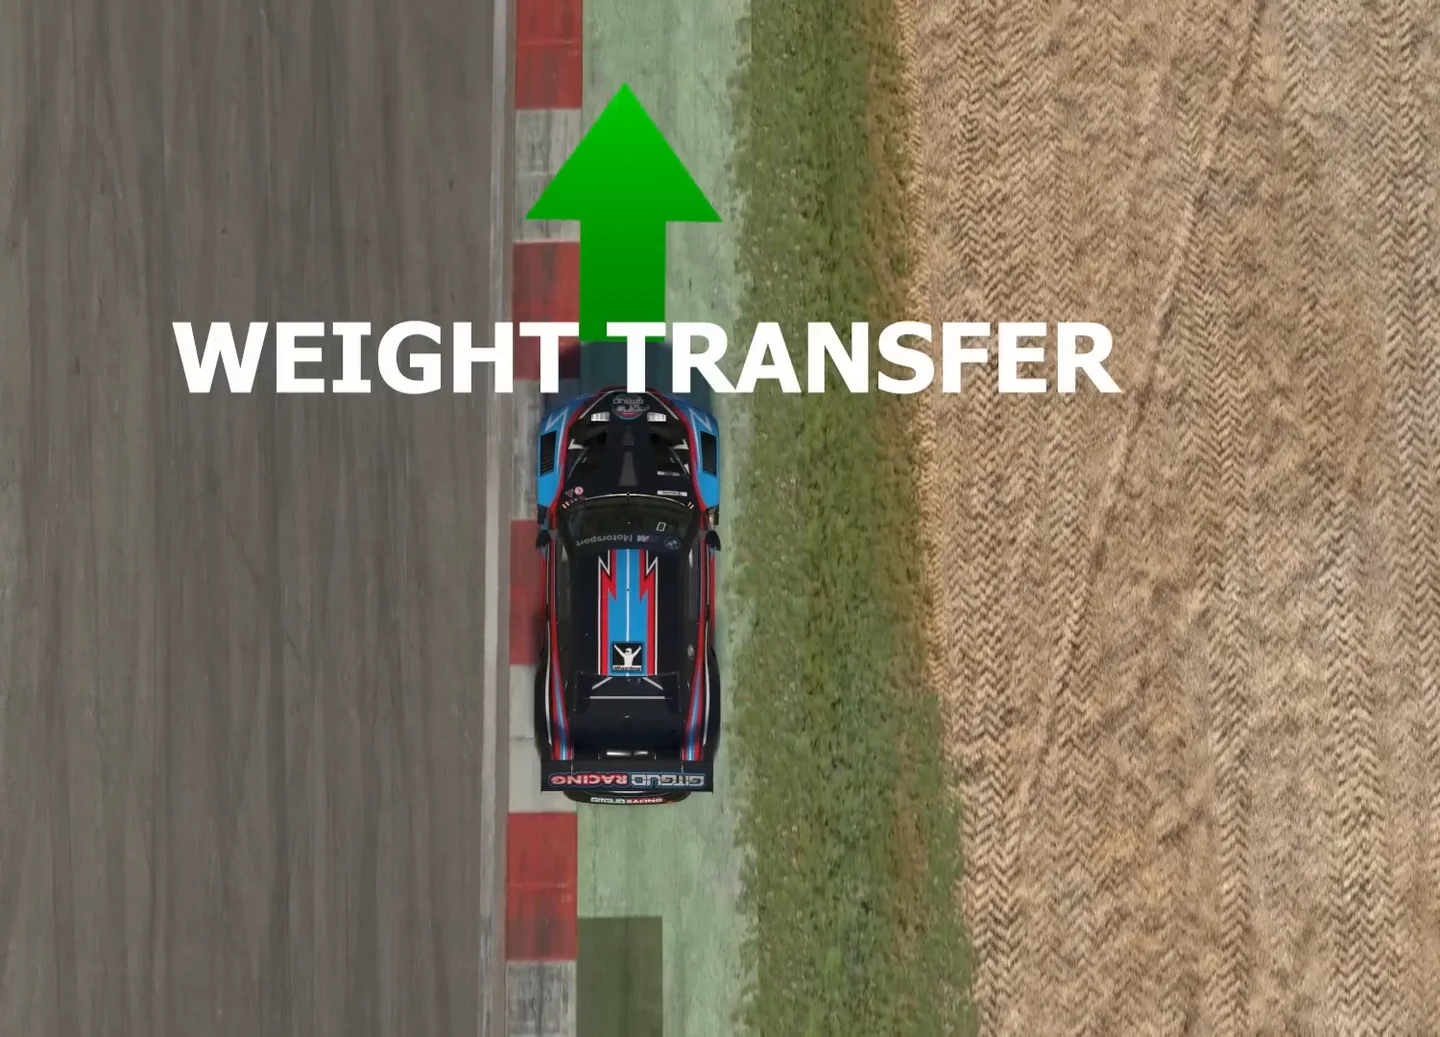
Load moves in two directions, and every input produces one or both.
- Longitudinal, along the car. Slowing down moves load onto the front axle and off the rear; accelerating moves it onto the rear axle and off the front.
- Lateral, across the car. Cornering moves load from the inside tyres to the outside ones.
The amount follows one pattern: it grows with the acceleration (braking, driving or cornering), the car's mass and the height of its centre of gravity, and it shrinks as the wheelbase (front to rear) or the track width (side to side) gets longer. Brake and turn at once and the two combine, so the outside front carries the most load on the car and the inside rear the least.
What each input does, and how you notice it
Four situations cover almost every corner. What you feel through the wheel and seat depends on the car, the sim and your force-feedback settings, so treat the "how you notice it" lines as the usual signs, not guarantees.
Slowing down
Load moves onto the front axle and off the rear. The fronts can now produce more grip and the rears less, so the car becomes more willing to change direction, up to the point where the fronts are already fully busy slowing the car. How to brake is covered in depth in braking technique, and this page does not re-teach it.
How you notice it: the nose dips, the steering usually gets heavier and sharper, and the rear can feel light, most of all if you turn while still slowing hard.
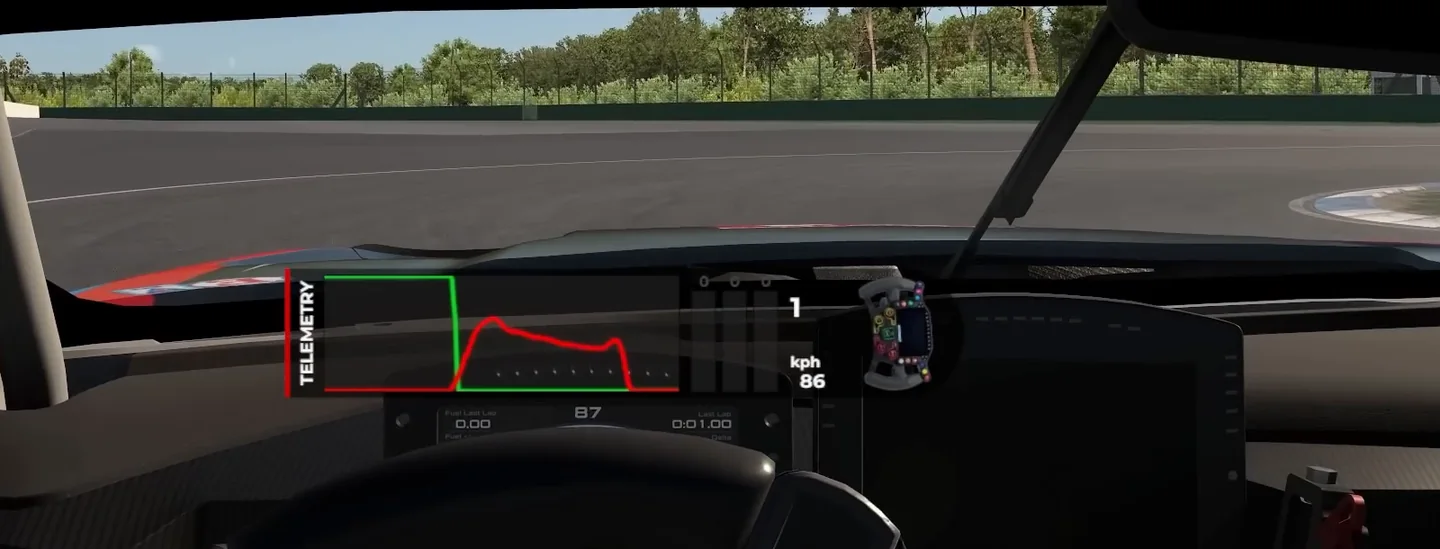
Coming off the pedal
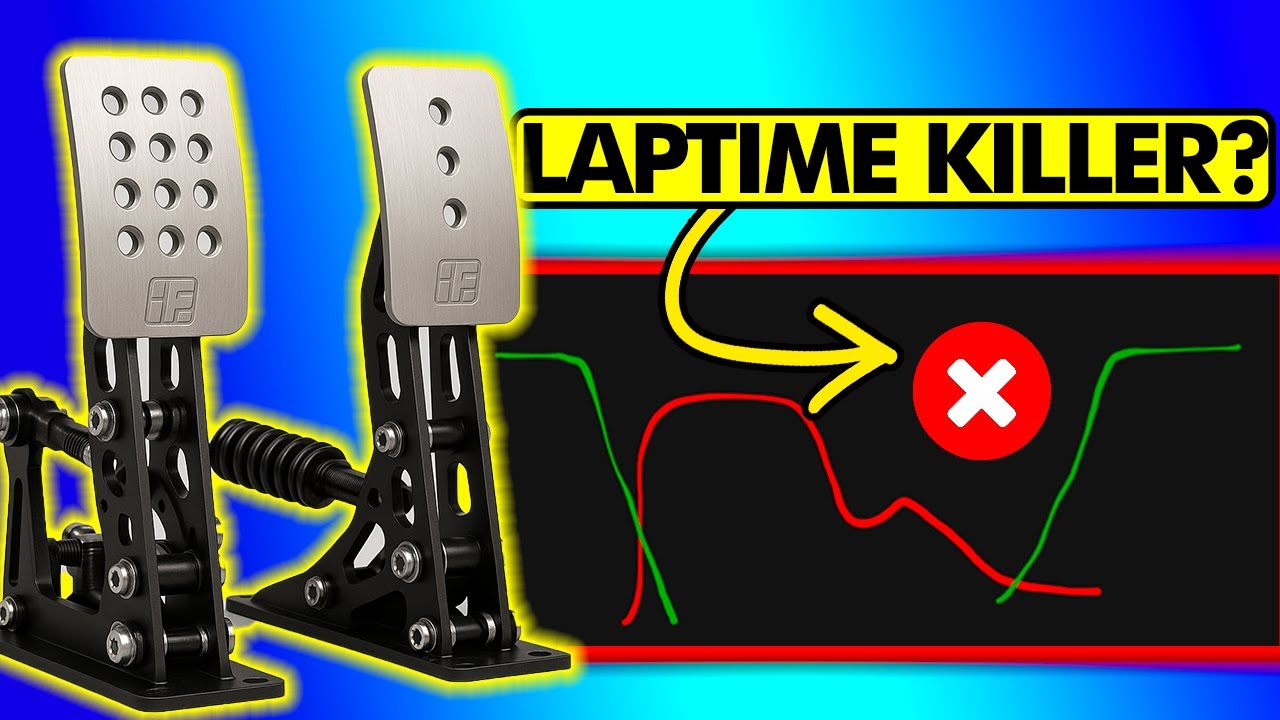
As you ease off the brake, load flows back from the front toward the rear. The fronts were spending most of their budget on slowing the car, and what you free up as you come off the pedal is what you have available to turn with. That trade is covered properly as the tyre grip budget.
Worth knowing, because it is counter-intuitive: the friction envelope is curved, not a straight trade. Coming off the very top of the pedal frees a surprising amount of lateral grip for very little braking cost, which is also why the last part of a release has to be gentler than the first.
How you notice it: a sudden release lets the nose rise and the front lose bite just as you turn in; a gradual one keeps the steering weighted while the car starts to turn.
Cornering
The shorthand gets the causation backwards here. Steering does not push load sideways. Steering builds slip angle at the tyres, the tyres generate lateral force, the car develops lateral acceleration, and that acceleration acting through a centre of gravity above the road moves load outboard. Because roll and tyre response both take time to build, it lags your hands.
How you notice it: the car settles onto its outside tyres a moment after you turn the wheel, not with it, and the inside tyres go light. Over a kerb or a bump, the unloaded inside wheel is usually the one that locks or spins first.
Two consequences worth knowing, because they kill some common assumptions:
- Lateral load transfer is not something to exploit. A tyre's grip rises more slowly than the load you put through it, so the outside tyre gains less than the inside one loses. Across an axle it is a net cost. You manage it; you do not harvest it.
- Stiffer bars and springs do not reduce it. Total lateral load transfer is fixed by mass, lateral acceleration, CG height and track width, none of which a spring rate changes. What they change is the front-to-rear split, which is exactly why a stiffer front bar makes a car understeer. Which end to soften, by how much, and in what order is car-specific: the setup troubleshooter works it out from real garage data for a touring car and a formula car.
Accelerating
Load moves rearward, onto the rear axle and off the front, so the car usually becomes less willing to change direction. That is useful: a small, steady throttle can settle a car that is rotating more than you want.
But do not oversimplify it. Throttle does not simply give the rear tyres more grip. Load transfer is half of it; the other half is that drive force spends grip at the driven axle. Which half wins depends on the car:
- Front-drive: both effects work against the front. Load leaves it and drive force spends its grip, so throttle tends to pull the car out of a rotation and toward understeer.
- Rear-drive: a small maintenance throttle usually nets positive and settles the car. Beyond that it becomes power oversteer, and if the rear is already past its peak slip angle, adding throttle tends to extend the slide rather than catch it.
So in a rear-drive car, the usual correction for a rear that has gone too far is hands first: unwind or add opposite lock to bring the rear slip angle back down, with the throttle held steady rather than increased. Reaching for more throttle as the primary fix is a common way for a save to become a spin.
One more mechanism people credit to load transfer that mostly is not: how strongly a car resists rotation under power is largely the differential. A tight power ramp or high preload pushes the driven wheels toward a common speed and fights yaw directly; an open diff does far less of it. And in a downforce car at speed, rear load is dominated by aerodynamics, not by the modest mass transfer the throttle produces.
How you notice it: the steering goes lighter and the front starts to run wide as you feed the throttle in; in a rear-drive car, too much too early shows up as the rear stepping out instead.
All of this applies to corner entry and the rotation phase. Once you are committed to the exit, the throttle's job is different, and one clean application usually beats modulation.
Why it changes how willing the car is to rotate
Rotation is not really about which end is heavier. It is about the balance of lateral force between the two axles. Load transfer changes what each axle is capable of, and therefore shifts that balance: more front capability relative to the rear means more yaw, and the reverse means less.
There is a ceiling on this, and it is the most misunderstood part. Putting more load on the front does not automatically mean more turning. If the front tyre is already saturated, extra load does not get cashed in. One of my students was shifting a great deal of weight onto the front and the car still would not rotate, because he was asking the fronts for everything they had before he ever turned the wheel. That case is worth reading, because it is what the theory looks like when it fails.
Saturated is the operative word there, and it has a precise meaning: what a tyre at its grip limit is actually doing is the physics underneath every load change on this page.
Advanced: slip angle is what converts a load change into rotation
This answers a question a lot of drivers have felt without being able to name: why does lifting sometimes rotate the car beautifully and sometimes do nothing at all? The mechanism is below; using it on purpose, timing the lift so that the car rotates on entry, is the subject of how to induce oversteer in sim racing.
When you lift while travelling in a straight line, the load transfer is longitudinal. It pitches the car forward and loads the front axle, and that part is real and useful. What it does not produce on its own is yaw, because yaw comes from lateral force acting at a distance from the car's centre of gravity, and in a straight line there is essentially no lateral force to redistribute.
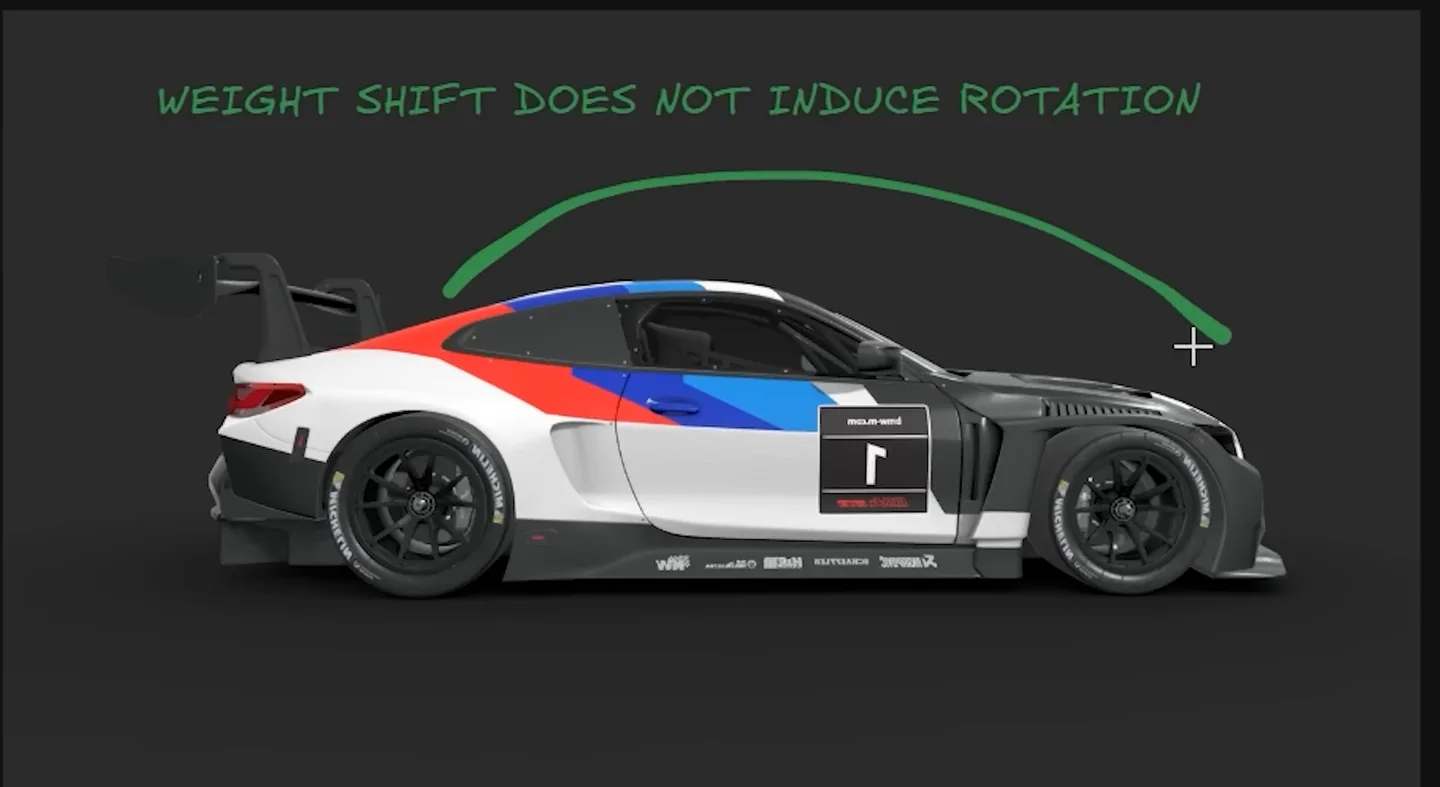
Now do the same lift with the tyres already working laterally. The load transfer is identical; it has not been redirected. What changed is that there is now a front-to-rear balance of lateral force for it to act on. The extra front capability gets spent on turning, because turning is what the front tyres are already doing.
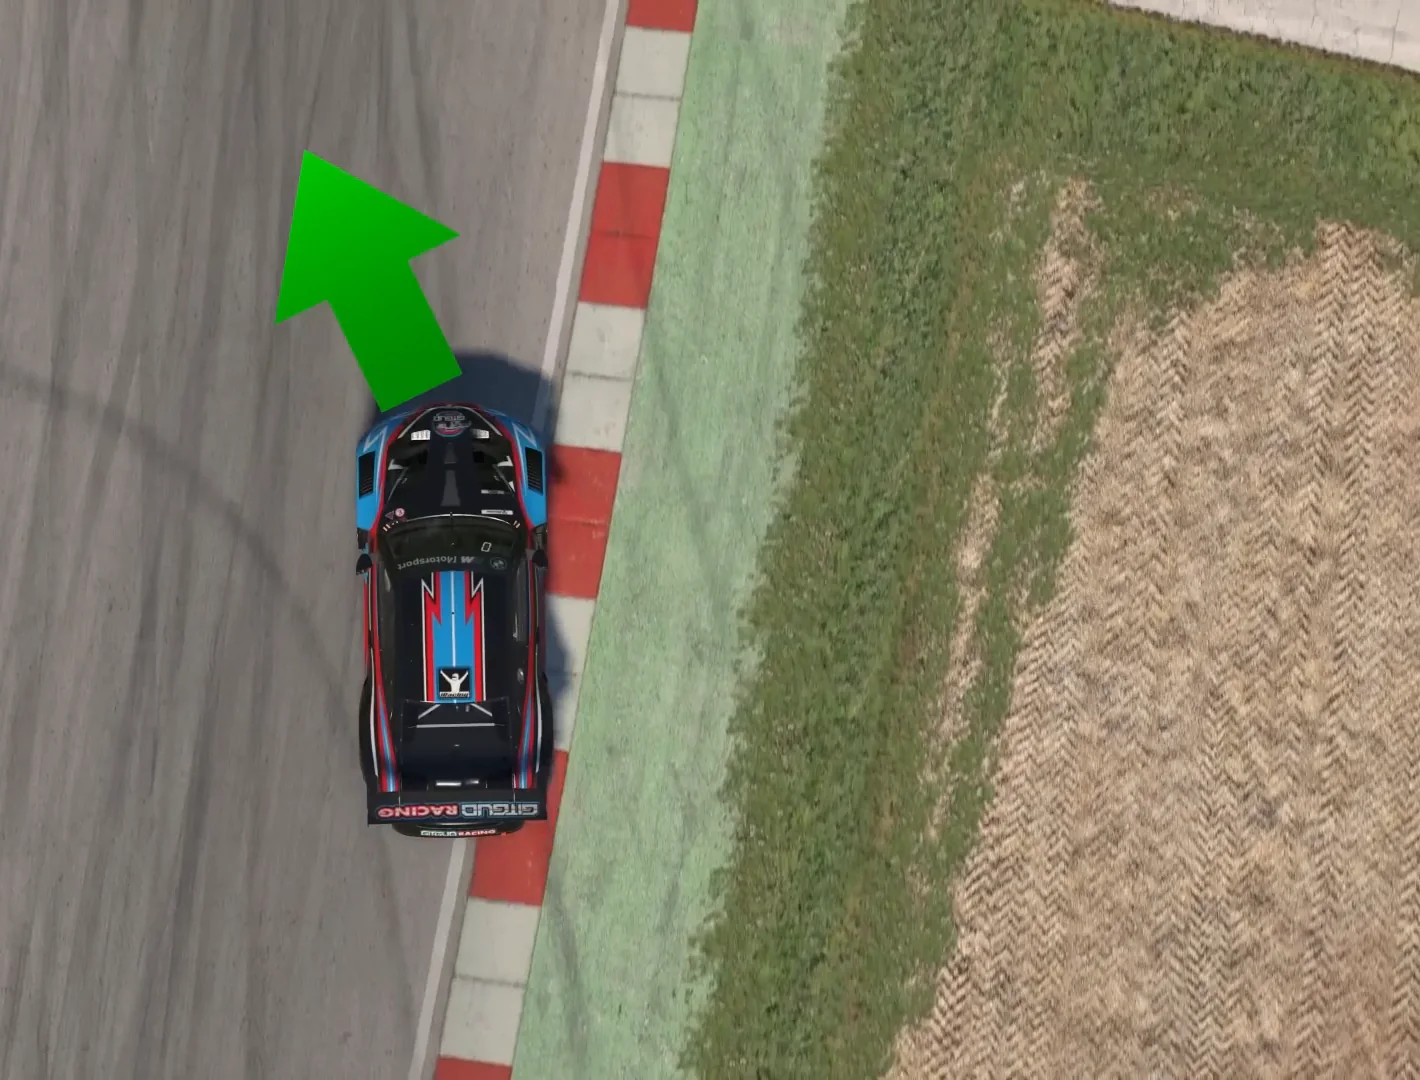
A lift does not create rotation. It re-weights rotation that the tyres are already producing.
Three things follow from that.
It scales; it is not a switch. The yaw a lift buys is roughly proportional to the lateral force already on the tyres. A couple of degrees of steering at very low lateral acceleration buys you almost nothing. Meaningful lateral force buys you a lot. So the useful instruction is not "turn a bit first" but "make sure the tyres are genuinely working before you ask the balance change to do something".
Slip angle, not steering angle, is the variable. These come apart more often than you would think. Steering hard at walking pace produces plenty of steering angle and almost no yaw, because the tyres are barely loaded laterally. A car sliding with the wheels pointed straight ahead has no steering angle and a great deal of yaw. What you are managing is what the tyres are doing; the wheel is only your means of asking.
A lift is not purely a load event, and cars respond differently. Closing the throttle also applies engine braking at the driven axle, which spends part of that axle's friction budget. In a rear-drive car that adds to the rotation; in a front-drive car it lands on the same tyres you are asking to turn. The differential's behaviour off throttle, the wheelbase and the aero load change the size of the effect again. The garage spans front-drive road cars, rear-drive GTs and low-inertia single-seaters, and they do not respond alike, so treat what follows as a mechanism to test in your car, not a law. The GT and single-seater cases each have their own page, the GT3 sim racing guide and the Formula sim racing guide. Both build on the car-agnostic sequence, where load transfer sits seventh in the twelve driving techniques, after braking and steering, not before.
When the timing is too early
Asking for lateral force while the fronts are still saturated buys nothing and costs you the corner: the extra lock does not turn the car, it just adds demand the tyre cannot meet. That failure has its own page: five braking mistakes found in one lap opens on exactly it, with the telemetry.
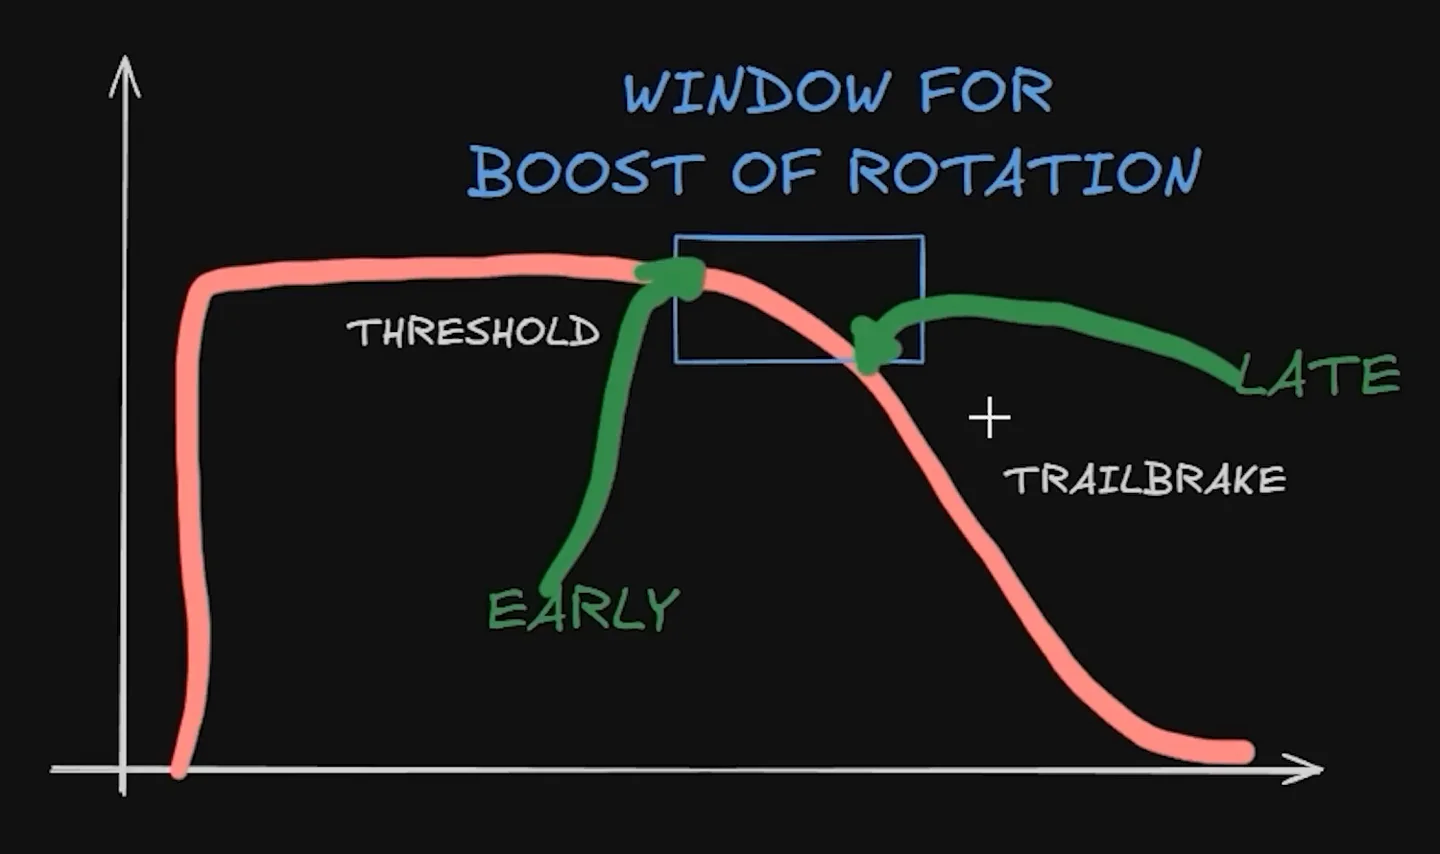
When the timing is too late
A load change spent while the tyres carry no slip angle buys no yaw. You get the pitch and the front load, and then it decays before you have asked anything of it, so you arrive needing rotation you no longer have the balance to produce, and you go looking for it deeper in the corner instead.
One honest tension here. Our trail-braking guide sanctions a brief coast while you are learning a corner, and that is deliberate: as a scaffold it removes a variable and it works. It is a learning tool with a known cost, not a way to drive once rotation is what you are chasing.
Fast corners, where a lift is your only input
There is a line in our trail braking guide that people quote back: you effectively have two steering wheels, one in your hands and one under your right foot. The throttle is the third. In fast corners that need a small lift, a brush of the pedal or nothing at all, a closed throttle is the only one of the three you are using, and none of the braking guides cover that case.
With no meaningful braking phase, the order of operations is the only thing you control, and the common mistake is to do it backwards. Lift first while pointing straight, wait, then steer, and you have spent the balance change on nothing; by the time the tyres are loaded, the transient has passed.
Reverse it. Establish direction first, so the tyres are genuinely carrying lateral force, and then close the throttle. In a car that responds to a lift, the same inputs in the same corner then tend to rotate the car instead of pushing it. The response is usually clearest in rear-drive cars, where engine braking also lands on the rear; a front-drive car, or a high-downforce car in a corner fast enough that aero load dominates, may respond much less.
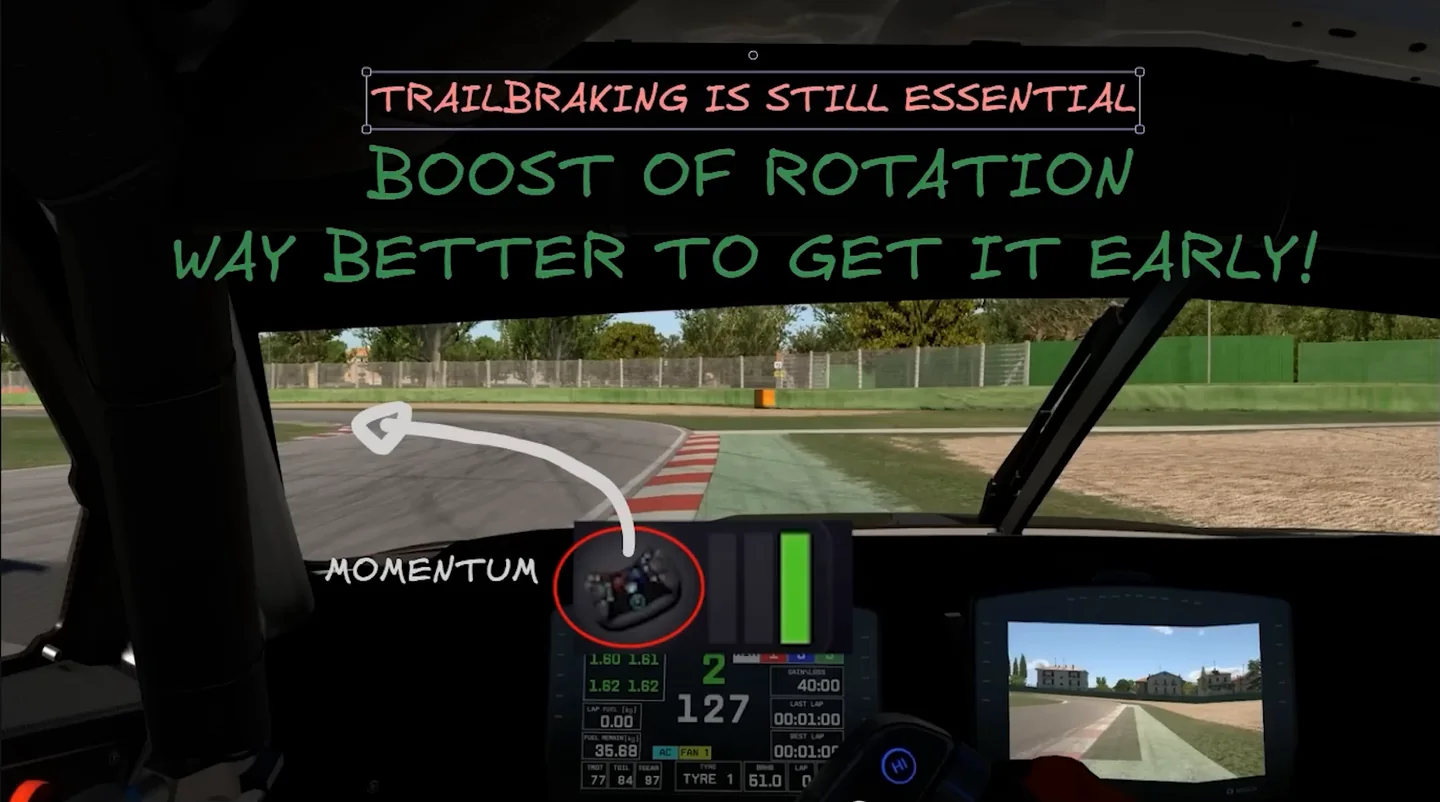
Two constraints on that:
- Do not add steering before the braking zone in corners that do have one. Any steering before you start slowing costs you the width of the track, and the entry speed that width was worth.
- If a brush of brake follows the lift, keep them sequential. Come fully off the throttle, then apply the brake. Overlapping them heats the tyre for nothing.
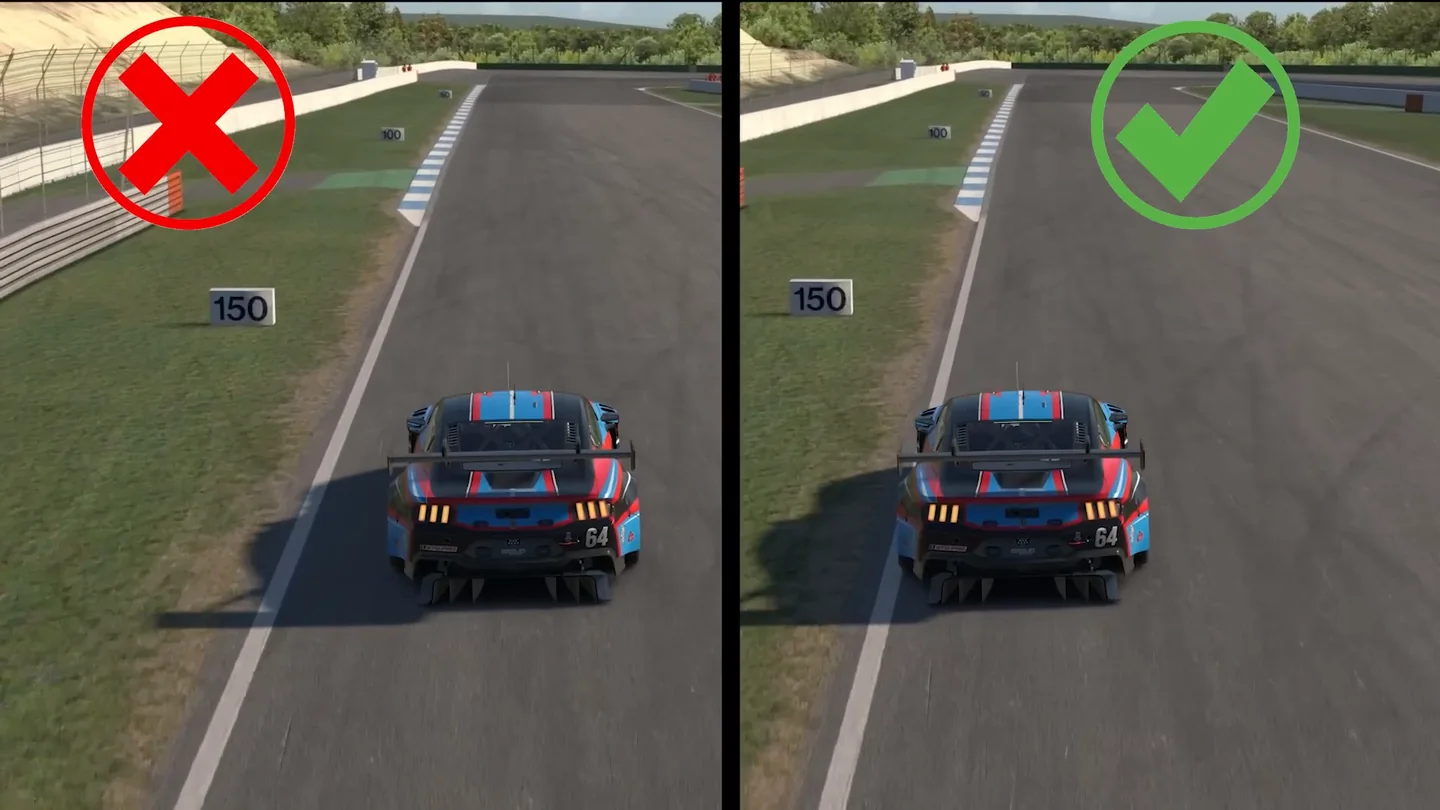
How much lift, and how early, depends on the car and how fast the corner is. The principle is the order; the amounts are yours to find.
All of this assumes your inputs are repeatable, which is a rig question before it is a driving one. If your body moves under braking, the geometry is worth checking before you read anything into your pedal traces.
Why it is easier to feel in a rally sim
It is worth an evening on a loose surface, but not for the reason it is usually given. Low grip does not increase load transfer: transfer scales with lateral acceleration, and low grip caps lateral acceleration, so a loose surface actually transfers less. What changes is legibility.
On gravel the tyres sit near their limit continuously, so a balance change shows up as a change in the car's attitude instead of being quietly absorbed. The response is also slower and larger: lateral force builds less steeply per degree of slip angle, so you provoke the car and then wait for it. That is what makes it readable: the effects are separated in time enough for you to notice them.
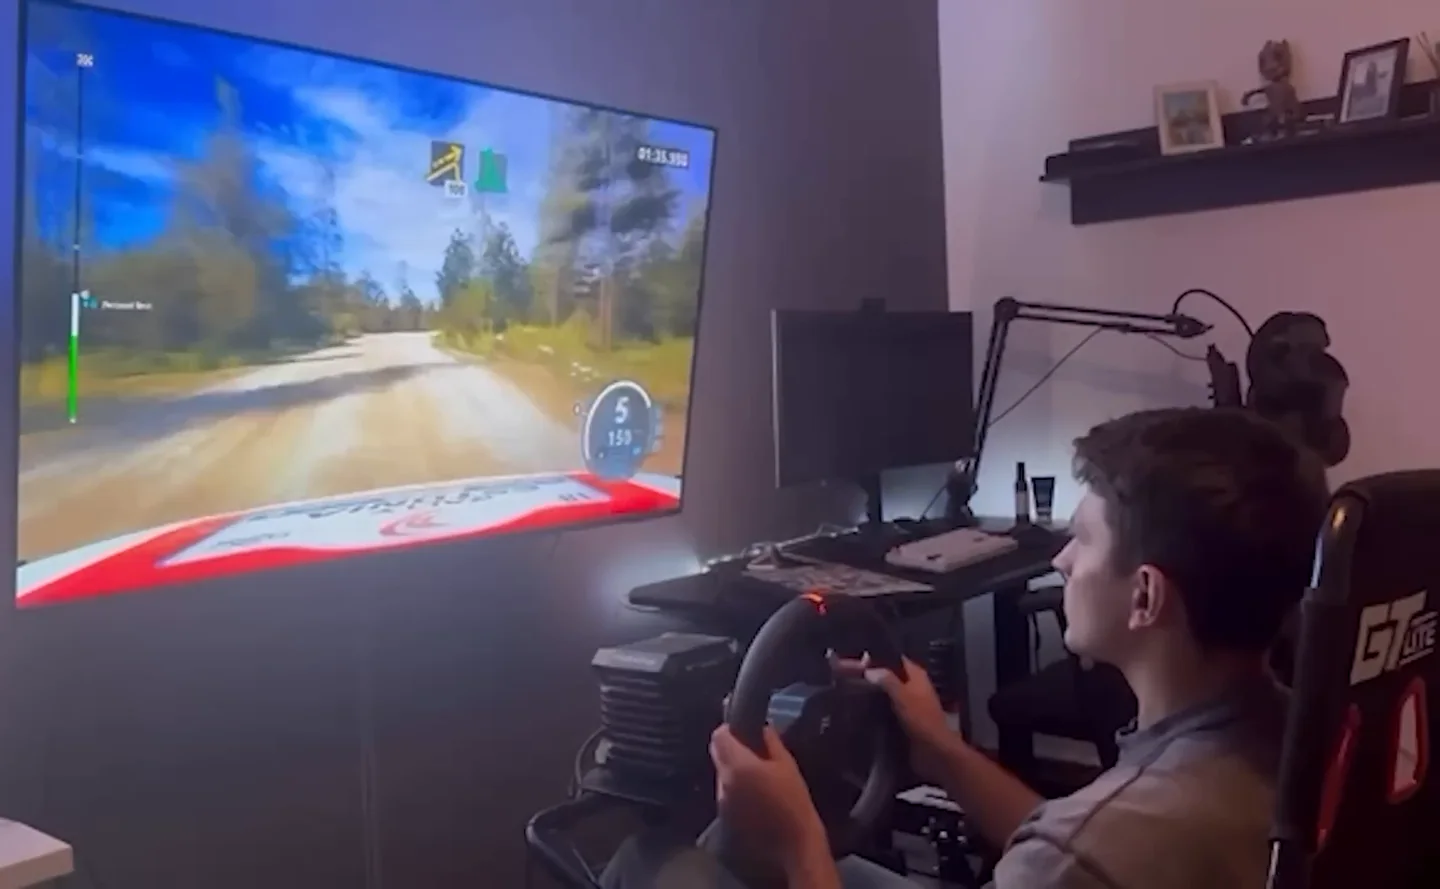
The perception transfers. The inputs do not: on dry tarmac a deliberate flick is slower, because every unnecessary degree of slip angle is grip spent on rotating rather than cornering.
The drill: change only the timing
Three timings, one corner
Pick a medium-speed corner that needs little or no braking, so the lift is the only balance input in play. Keep everything else identical.
- A — lift, then steer. Close the throttle while pointing straight, pause, then turn.
- B — steer, then lift. Establish direction first, then close the throttle.
- C — deliberately too early. Full steering while still hard on the brakes, to feel the saturated front.
Compare four things across the three: how much steering angle you needed, where the car ended up at the apex, whether you made corrections, and when you could get back to the throttle.
Where the expected result applies: a rear-drive car with real grip, such as a GT3, on a dry track with warm tyres, at the same entry speed every lap. There, B should need less lock for the same line. If it does not, the corner probably needs more braking than you thought; try it somewhere faster. In a front-drive car, a car with a lot of off-throttle diff locking, or a high-downforce car in a fast corner, the gap between A and B may be small or absent. That is the car, not a failed drill.
Run it as an isolation block with the same scoring the beginner drills use: one variable, a pass you call at the time, and no lap times.
Which of the three you are getting wrong
Two drivers can give the same complaint, that the car will not rotate, and need opposite corrections. One is asking for lateral force while the fronts are saturated. One is spending the balance change before the tyres are working. One has the timing right and is simply in a car whose driven axle behaves differently from the one the advice was written for. There is no universal answer here, and picking one at random is how people lose a season. Once the timing is right, the detailed troubleshooting for a car that still will not turn (braking point, trail length, downshifts) is on how to get more car rotation.
If you cannot tell which you are, that is the honest reason lap reviews inside the GitGud Racing Academy exist: a coach looks at braking, steering, line and throttle together rather than judging one trace in isolation, and tells you which of the three you are actually doing.
Whichever of the three you turn out to be, the fix is the same three inputs in a different order. Complete Driving Technique is the course that takes braking, steering and throttle as one system instead of three separate habits.
Weight transfer FAQ
What is weight transfer in sim racing?
The redistribution of vertical load between the four contact patches as the car accelerates, slows or corners. Nothing physically moves inside the car, which is why load transfer is the more accurate term. It is also not the same as the body roll or pitch you can see: that is the body moving on its springs, while load transfer is what the tyres feel. Slowing down puts load on the front axle, accelerating moves it rearward onto the rear axle, and cornering moves it outboard onto the outside tyres. Being fast is not about eliminating it — you cannot — but about controlling when it happens and how quickly, because the timing decides whether it helps you turn or works against you.
Why does lifting off the throttle sometimes rotate the car and sometimes do nothing?
Because a lift does not create rotation, it re-weights rotation the tyres are already producing. Lift while travelling in a straight line and the load transfer is purely longitudinal: the car pitches and the front loads up, but there is almost no lateral force for that change to act on, so you get very little yaw. Lift with the tyres already working laterally and the same load transfer has a front-to-rear balance of lateral force to shift. It scales rather than switching on — the more lateral force already there, the more the lift is worth. How large the effect is also depends on the car: its drive layout, differential and aero load.
How does the throttle change the car's balance?
It moves load rearward onto the rear axle and unloads the front, which generally makes the car less willing to change direction. But that is only half the story, and the missing half matters: drive force also spends grip at the driven axle. In a front-wheel-drive car both effects work against the front, so throttle tends to pull you out of a rotation. In a rear-drive car a small steady maintenance throttle usually settles the car, while anything more becomes power oversteer — and if the rear is already past its peak slip angle, adding throttle tends to extend the slide rather than catch it.
Why does lifting off the throttle cause oversteer?
Two things happen at once. Load moves forward, which takes vertical load off the rear tyres and reduces the lateral force they can generate. At the same time, closing the throttle applies engine braking at the driven axle, which spends part of that axle's friction budget. In a rear-drive car both effects land on the rear, so a sharp lift mid-corner can step the back end out. How strongly depends on the car: wheelbase, the differential's off-throttle setting and aero load all change it. That is also why it is a tool rather than only a hazard: a measured lift is one way to get a reluctant car to rotate.
Do stiffer springs or anti-roll bars reduce weight transfer?
No, and this is one of the most persistent misconceptions in sim racing setup. Total lateral load transfer is set by the car's mass, the lateral acceleration, the height of the centre of gravity and the track width — and a spring rate changes none of those. What stiffer bars and springs change is the front-to-rear split of that transfer, and how quickly it arrives. That is precisely why a stiffer front anti-roll bar creates understeer: it hands the front axle a larger share of a total that has not changed.
Does more front load always mean more rotation?
No, and assuming it does is the most common way this idea fails in practice. Load transfer changes what the front axle is capable of; it cannot make a tyre that is already saturated do more. A driver braking hard enough to be at the front tyres' limit is shifting a great deal of load forward and still getting no rotation, because there is nothing left to cash the extra load in with. The load has to arrive somewhere the tyre still has capacity, which usually means braking earlier and more gently rather than harder.
This guide is part of the free library at GitGud Racing Academy — an online sim racing academy built around weekly lap reviews, structured courses, drills and training tools.
Train this the right way
Reading is step one. Build it into muscle memory with structured, car-specific courses and personal lap reviews from a coach — inside the Academy.
Join the Academy · $39.99/mo incl. VATWatch the full video on YouTube