How to Find the Grip Limit in Sim Racing
The grip limit is the point where asking a tyre for more stops giving you more. More steering stops producing rotation. More brake pressure produces lockup rather than deceleration. More throttle produces wheelspin. More entry speed produces understeer instead of cornering force. It is not a speed, and it is not a steering angle — it is a response curve going flat.
Treat that as a practical diagnostic model rather than a physics definition: you never see the limit, you ask for slightly more and read what the car gives back. It also leads straight to the thing most drivers have backwards: driving at the limit does not mean avoiding all tyre slip. A tyre that is not slipping at all is making almost no cornering force. What separates a fast lap from a slow one is how much it slips — too little and you are underdriving, enough and the slip is doing useful work, too much and you are overdriving past the peak.
Jump to what the limit feels like, the cue table or the one-corner drill.
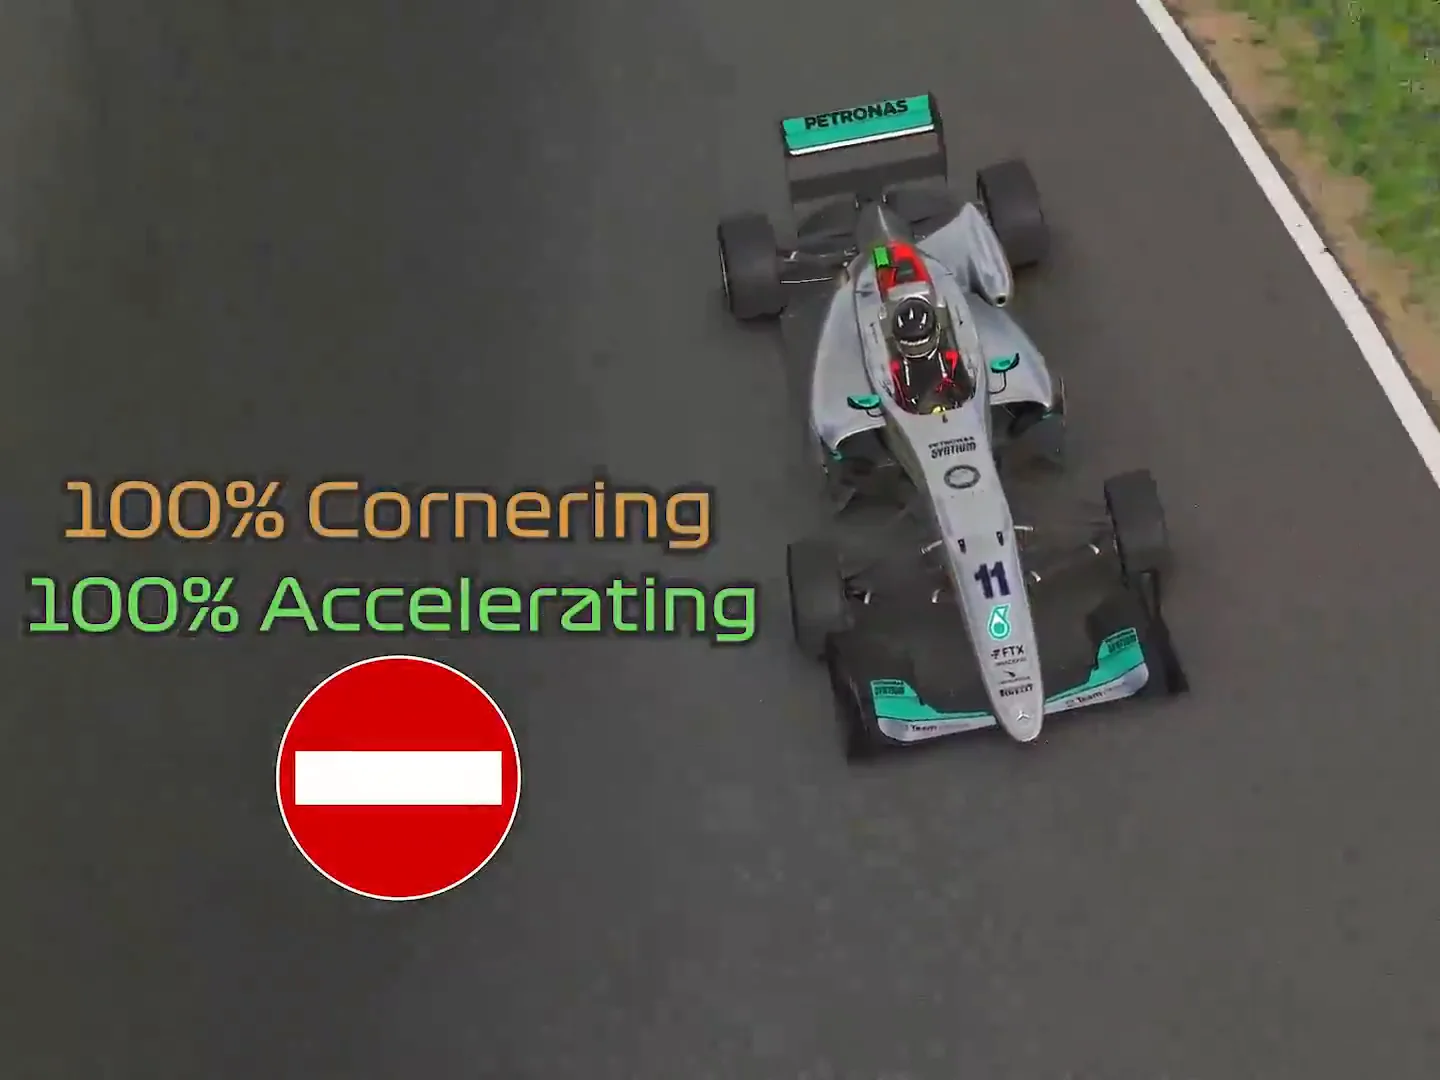
One note first. The video at the top is older, so take the mechanism from it and nothing else — it is not a description of how any current version of any sim behaves. The argument is credited in the video to Ross Bentley's Ultimate Speed Secrets, and it has no version number. The rest of this page is for whichever sim you drive.
What the grip limit actually is
"The maximum grip the tyre can produce" is the textbook answer and it is useless to a driver: you cannot see it, cannot measure it from the cockpit, and it differs at each of the four contact patches at every instant of the corner.
The useful definition is behavioural, and it is the one thing here worth memorising: you are at the limit when adding more of an input stops changing what the car does. Below it, more steering means more turning and more brake means more slowing. At it, more buys nothing. Past it, more actively costs you. You never observe the limit itself; you observe the response to your last input and infer.
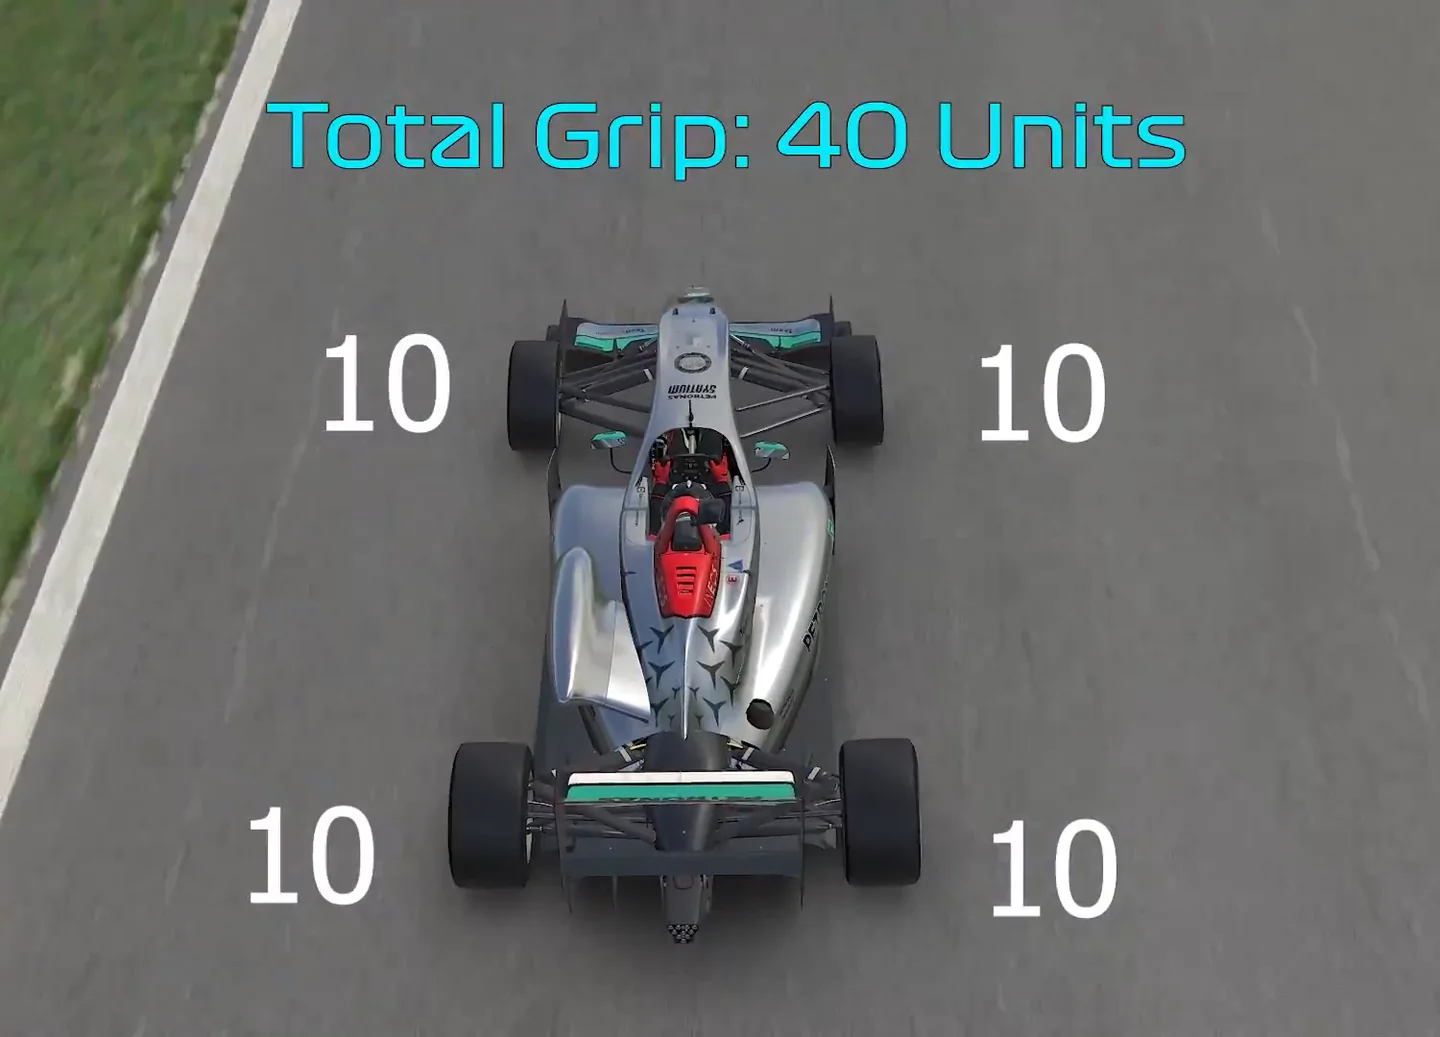
Second thing to hold on to: the limit belongs to a tyre first, then an axle, and only loosely to the car. Four contact patches, four budgets, all changing as load moves around. An axle's grip is what its two tyres manage between them, so one tyre can be past its peak — an unloaded inside wheel locking or spinning — while the axle still has grip to give. "The car is at the limit" means one axle ran out first, and which one is the whole of understeer and oversteer.
What the limit feels like in a sim
Four channels, in rough order of how quickly they reach you. None of them is equally reliable in every car and every sim, so read them together and let the car's path have the final word.
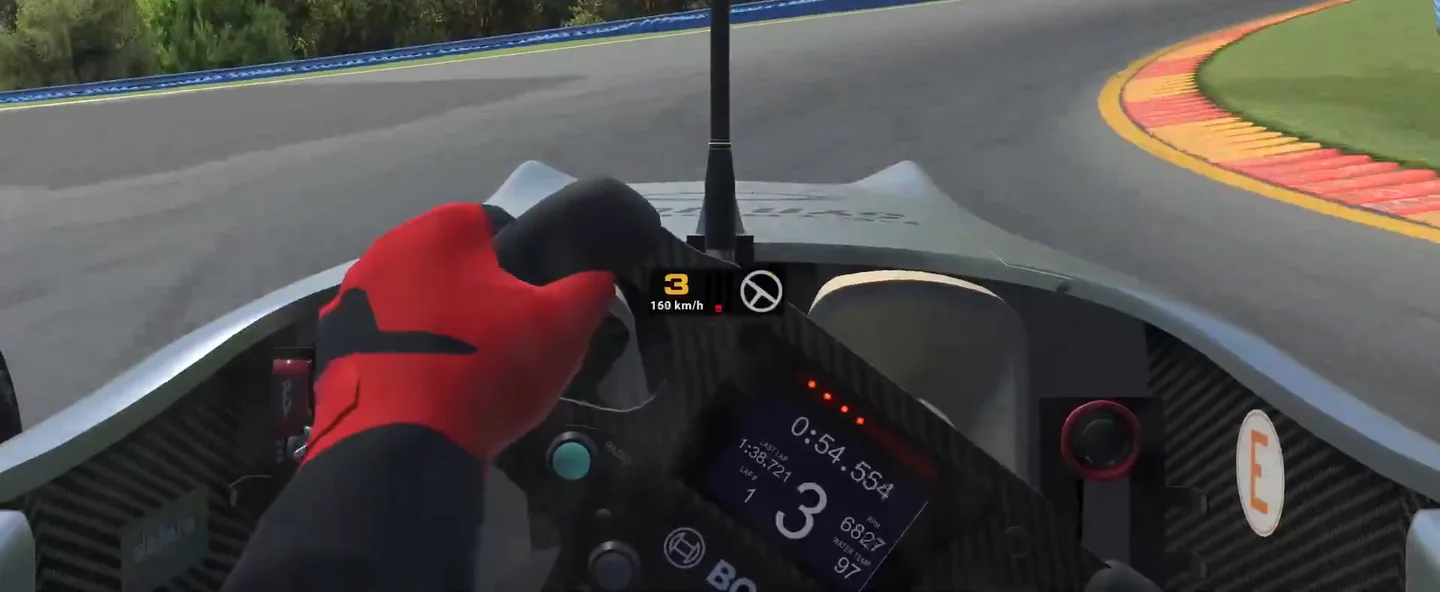
Through the wheel. As the front tyres load up laterally, the self-aligning torque they generate builds and the wheel gets heavier. In most tyre models that build levels off a little before the fronts reach peak grip, and past the peak the wheel goes light in your hands. So the signal is not the heaviness — it is the moment the heaviness stops increasing, and it is a warning that you are approaching the peak rather than an exact marker of it. How clearly it reaches you depends on the sim's force feedback, the car's steering and your settings, which is why a wheel that feels strong can still be uninformative.
Through sound. A tyre near its peak usually sounds different from one rolling below it, and different again past it. How closely a sim ties that sound to slip varies, so learn it per sim: a couple of laps run on audio alone costs nothing.
Through the car's response. The gap between what your hands do and what the car does grows as you approach the limit. Below it the car answers immediately; near it you turn and then wait. This is the cue that depends least on your hardware, because you are reading the car's path rather than a force, though how much delay you get varies from car to car.
Through telemetry. Precise, and too late to drive on, which makes it the check rather than the cue. Steering angle that keeps rising while lateral acceleration does not is the numeric version of the behavioural test. The telemetry guide shows that steering trace next to a faster driver's, and how to tell saturation from a different line.
Cue, possible meaning, next check
No single cue proves you are at the peak. Each one suggests something; the next check confirms it or rules it out.
| Cue | Possible interpretation | Next check |
|---|---|---|
| Wheel stops getting heavier as you add lock | Fronts approaching their peak | Add a little more lock and watch the car's path, not the wheel |
| Wheel goes light and the car runs wide | Fronts past their peak, usually from entry speed or brake still on | Unwind slightly: if the car starts turning, you were past. Next lap, brake a car length earlier |
| You turn, then wait for the car | Close to the limit | Ask for slightly more next lap: if the car does more, you had margin |
| Tyre sound changes | Near or past the peak, in sims that tie sound closely to slip | Confirm with the car's path before trusting it in a new sim or car |
| No rotation, no slide, nothing loud | Combined limit: two requests at once | Separate them — release the brake earlier or delay the throttle — and see whether it turns |
| Steering angle rising while lateral acceleration is flat | Front saturation | Overlay a faster lap to tell saturation from a different line |
| Lockup, ABS working, wheelspin | A single loud limit: braking or acceleration | Bracket that one input in the drill |
Not every rig delivers the same channels
This is where general advice about "feeling the limit" quietly stops being true. The lightening near the peak is a small change in force sitting on top of a much larger one, and several things can flatten it before it reaches your hands. Force feedback turned up past what the wheel can express clips exactly those peaks, so the signal that matters is the first casualty and the wheel feels powerful while telling you less. Check yours against the force feedback settings reference before concluding you cannot feel the front, and note that making FFB communicate grip rather than resistance is a settings question, not a driving one.
Sims also differ in what they put into the wheel and in how the falloff past the peak behaves. That is not a ranking. It is a practical instruction: recalibrate the cues when you change sim, car class or wheelbase. A driver who reads one car beautifully can be blind in another for a week, and that is normal rather than evidence the earlier skill was fake. A GT3 is the clearest case: ABS and traction control sit on two of the four limits, and the GT3 sim racing guide covers what they do to the cues.
Underdriving, overdriving, and the case that is neither
Almost everyone is one of these, and almost nobody diagnoses themselves correctly, because the first two both feel like trying hard.
Underdriving is comfortable, consistent and slow. The tell is not your lap time — it is that nothing ever surprises you. No lockups, no slides, no laps that go wrong. A driver who never makes a mistake in practice is telling you where their margin is: entirely unused. If your fastest lap and your average sit close together and both are off the pace, this is you.
Overdriving is corrections. Steering you did not plan, throttle you lift out of, one fast lap you cannot repeat, tyres that go away early. The signature is time gained on entry and more lost on exit, which is why inconsistency and overdriving are usually the same conversation.
Then the case with no common name: at the limit and still slow. It is invisible to the "am I sliding?" test, because you genuinely are at the limit — of a car you made worse.
The mechanism is load transfer. Grip at a tyre rises more slowly than the vertical load put through it, so when load moves off the inside pair onto the outside pair, the outside gains less than the inside loses — across the axle, a net loss. An abrupt input moves load faster and further, so an abrupt driver reaches the limit of a smaller total than a smooth one in the same car on the same lap. Both are at the limit. One has a higher limit to be at.
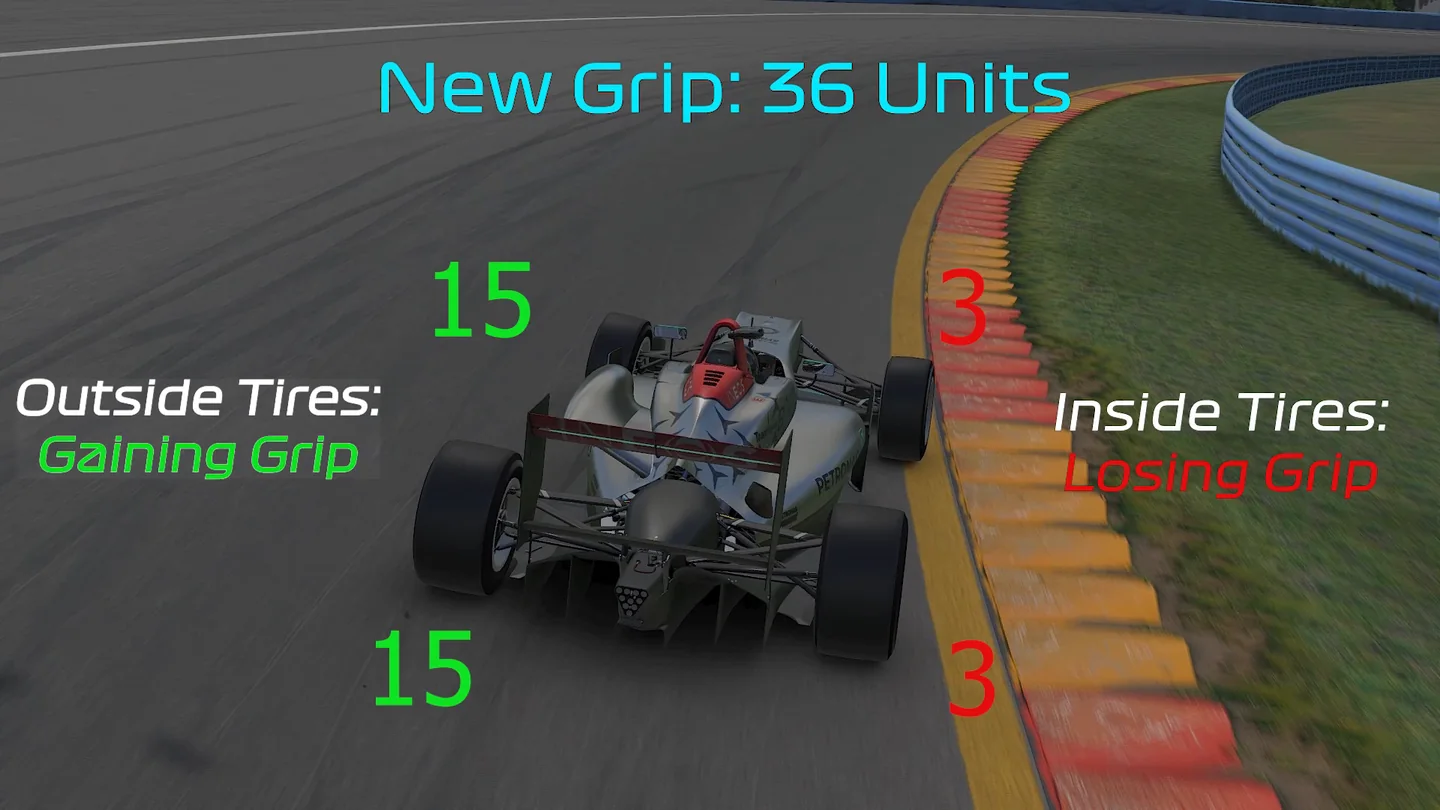
Which makes "smooth is fast" a physical claim rather than a matter of taste. It is not about looking calm — every unnecessarily fast input spends grip on moving weight around instead of on turning. The full mechanism is in the weight transfer guide; the version that shows up as a rotation problem is car rotation.
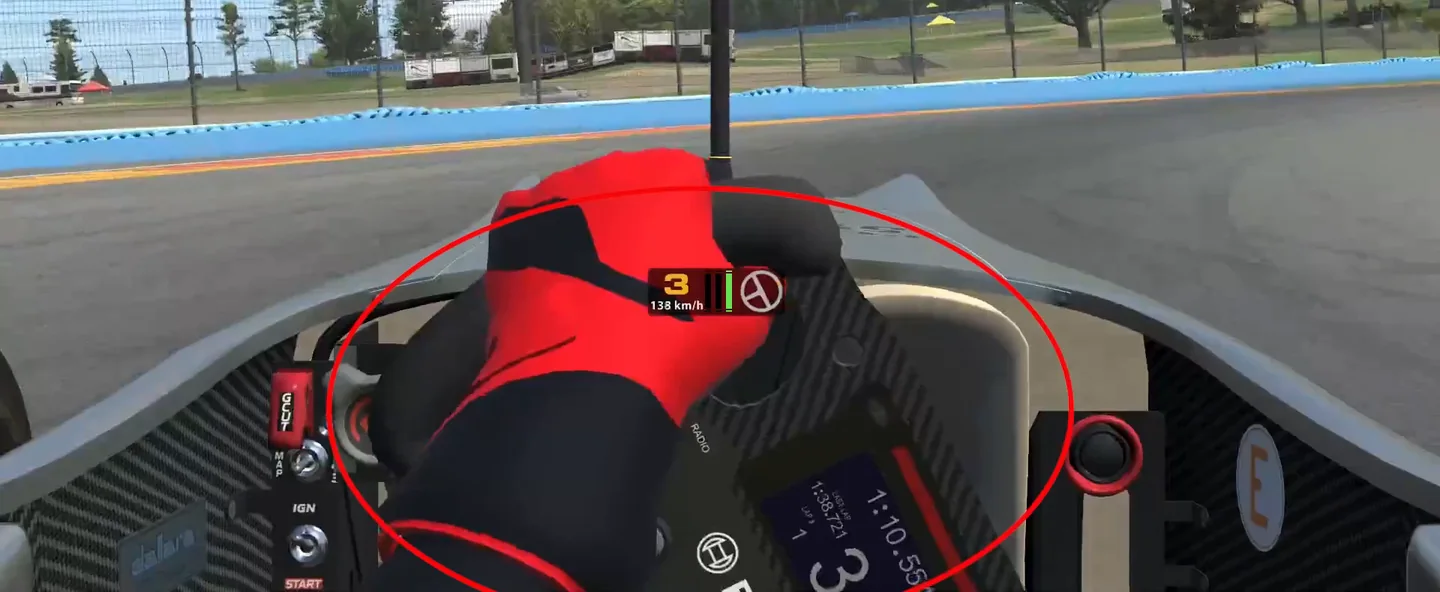
A tyre has to slide a little to grip at all
This is the genuinely counter-intuitive part, and the reason "don't slide the car" is bad advice given by well-meaning people.
A rolling tyre pointed exactly where it is travelling produces no lateral force. None. To produce any, it has to point slightly away from where it is going, so the rubber in the contact patch deflects — and that deflection is what pushes the car sideways. The angle between where the wheel points and where it travels is slip angle, and it is not a mistake. It is the input.
From zero, lateral force rises steeply with slip angle, keeps rising less steeply, and reaches a peak. Past that peak, more slip angle produces less force. Below the peak you are underdriving and there is free time available. At it you are at the limit. Past it you are overdriving, and — this is what makes it hard to notice — you still have a great deal of grip. It is not a cliff. The car does not fall off the road. It quietly gives you less than it did, while your hands tell you that you are trying harder.
Why there is no number to aim for
You will see a specific slip angle quoted as the target. Ignore it. The peak sits at a different angle for a road tyre and a slick, a cold tyre and a hot one, a heavily loaded outside front and an unloaded inside rear — and it moves with surface, pressure and the tyre model your sim happens to use. There is no slip angle readout on your dash anyway. The behavioural test replaces it: if asking for slightly more gets more, you had margin; if it gets nothing, you are there; if it gets less, you are past.
The traction circle: you cannot have all of two things
Braking, cornering and accelerating are one tyre spending one budget. Use all of it slowing down and there is nothing left to turn with — which is why the car refuses to change direction when you are hard on the brakes and steering at the same time.
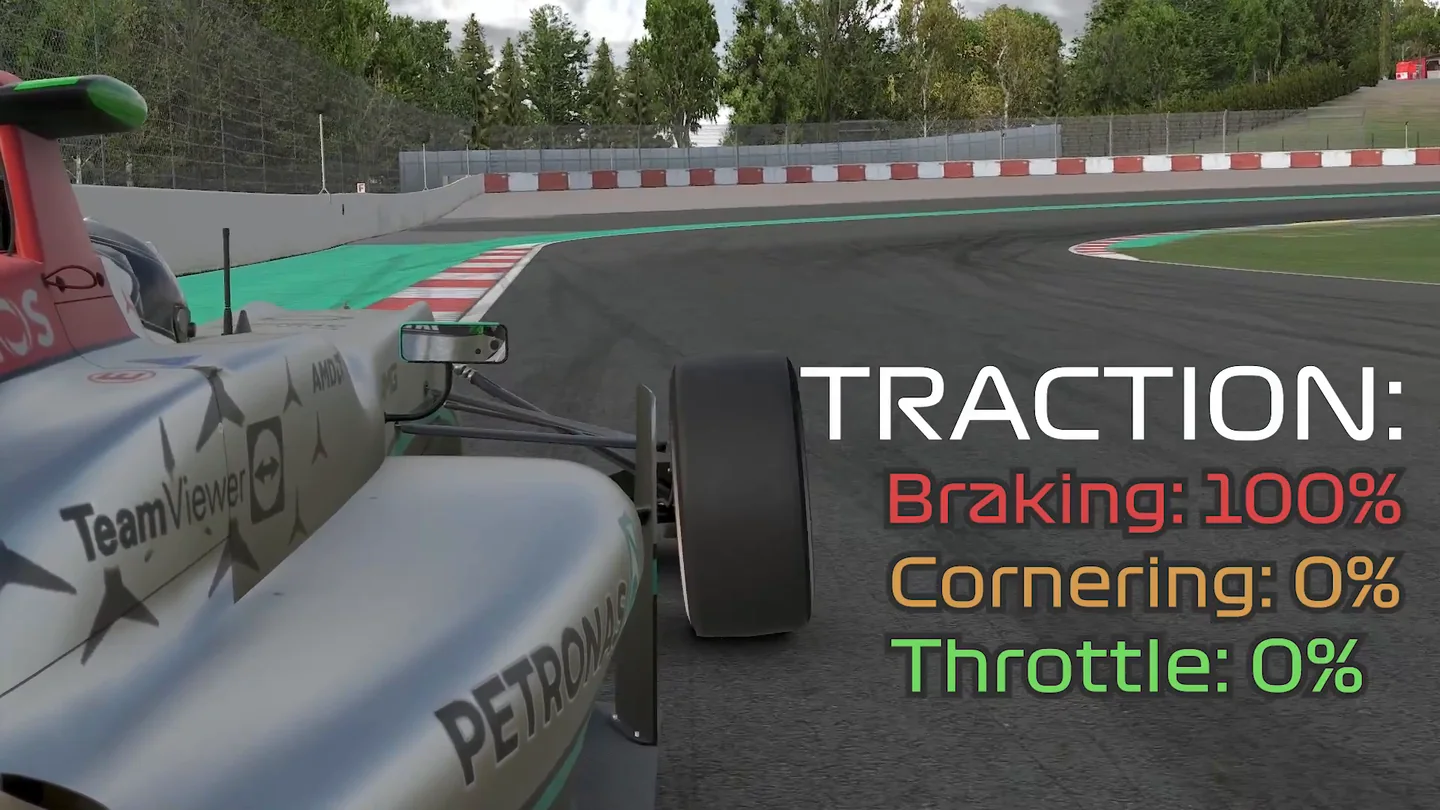
The standard teaching is a straight trade — give up half your braking, get half your cornering. The shape is closer to a circle than a triangle, though: releasing the first quarter of your brake pressure frees most of the lateral grip, and releasing the last quarter frees very little. Real envelopes are not perfect circles either, but the curvature is the useful part: the top of the brake pedal is cheap to give away and buys a lot of steering.
That is the physical case for trail braking, so this page hands off instead of teaching it. How to trail brake has the technique, fixing trail braking has the release shape, and spending the budget across entry, mid and exit is step three of how to be faster at sim racing.
The four limits, and why they are not one skill
Drivers talk about "the limit" as one thing they have either found or not. There are four, they fail differently, and most people are comfortable with some and have never deliberately explored the rest.
| Limit | How it announces itself | What you asked for |
|---|---|---|
| Braking | Lockup, ABS, wheel goes light | Too much pressure |
| Cornering | Car pushes wide, wheel unloads | Too much entry speed |
| Acceleration | Wheelspin, rear steps out | Too much throttle |
| Combined | No rotation, no obvious slide | Two things at once |
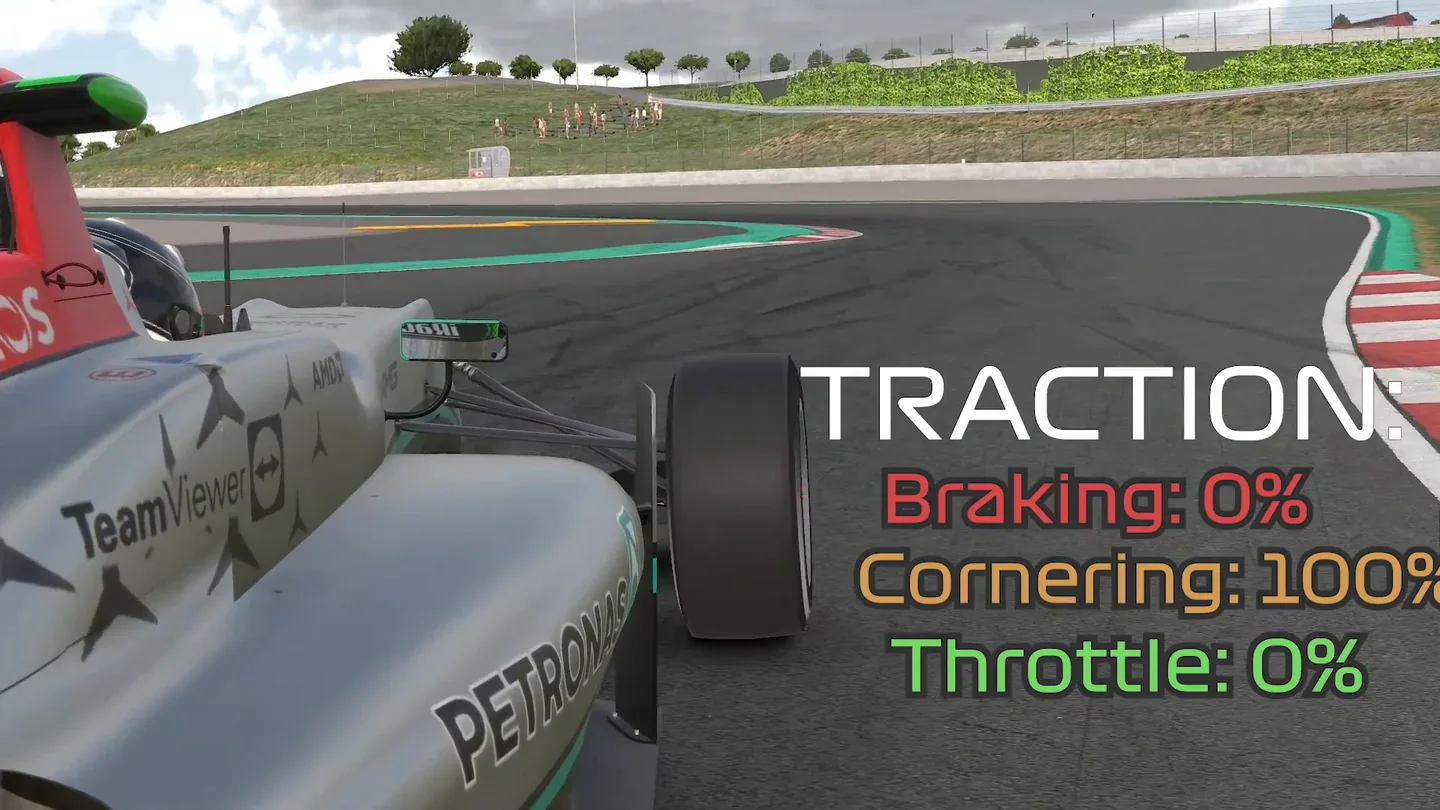
The first three are loud. You know when you have locked a wheel and when the rear has stepped out, so most drivers find them early and then stop. Under braking specifically, the edge is the ABS window or the micro-lock, and staying just under it is most of what braking later actually consists of.
The fourth is silent, and it is where most of a lap lives. Nothing squeals, nothing locks, nothing slides visibly. The car simply does not go where you pointed it, and the natural conclusion is that it understeers or the setup is wrong. Often you asked for two things at once and the combination exceeded what one axle had, though neither request would have alone. Practise at the three loud limits and never at the quiet one, and you get very good at the small fraction of the lap where the tyres are doing one job.
Understeer does not mean you need more steering
The most expensive reflex in sim racing: the car will not turn, so you turn the wheel more.
Work it through the curve. The fronts are already at or past their peak — that is what "will not turn" means. Adding lock adds slip angle, and past the peak more slip angle produces less force. So the car turns less than before you added the steering, you read that as needing still more, and the loop closes. You finish the corner with a great deal of lock on, a car pointing straighter than your hands, and a firm belief that the setup is at fault.
Sometimes it genuinely is, and the way to tell is to reproduce it with clean inputs and note the phase. The setup troubleshooter gives the ordered setup changes for entry, mid-corner and exit understeer on two real cars — and opens with "check your driving first" exactly where that is the honest answer.
The test needs no instruments. Add a little lock and watch the car's path, not the wheel. If the path does not change, take some out instead. Unwinding brings the slip angle back down, the front recovers force, and the car starts turning — which feels like nonsense the first time. Where that lock belongs in the first place — least at peak brake, most at the slowest point, off again as the throttle goes in — is the subject of steering technique. Deliberately pushing the balance past neutral on entry, so the rear runs at slightly more slip than the front, is how to induce oversteer in sim racing. The corner where the saturation point bites hardest is the fast sweeper, which is why identifying the corner type and its line options changes how much lock you should be reaching for in the first place.
Two handoffs, because the cause is earlier than the symptom. The heat and wear cost of steering a car that has stopped responding is in tyre management; arriving at turn-in with the fronts already spent is usually brake pressure, covered in five braking mistakes found in one lap.
The drill: bracket the limit in one corner
You cannot find an edge by approaching it carefully forever. You find it by going past it on purpose, somewhere the cost is a spoiled practice lap and nothing else — deliberately under, deliberately over, then close the gap. Do it somewhere you know: a circuit you are still learning gives you two unknowns at once, so learn the track first if it is unfamiliar. The rule that makes it work is the one that makes all practice work: one variable at a time. Move brake point, steering and throttle timing together and you learn nothing, because nothing is attributable. It is the same logic that puts the twelve driving techniques in dependency order: a skill is only attributable once the ones before it are repeatable.
Three blocks, one corner, one variable each
Pick a medium-speed corner you already know, ideally with run-off. Turn lap timing off — you want behaviour, not tenths. Call each run a pass or a fail out loud, before you see a number.
Keep fixed: the same car, the same tyres (run an out lap so they are up to temperature first), the same fuel load and the same corner. Change one input per block and leave the other two where they were. If fuel burns down during the session, keep the runs short or reset it, because a lighter car moves the bracket on its own.
- Block 1 — entry speed. Three laps braking deliberately early, so the car turns in easily and you are clearly underdriving. Then move the brake point later by one car length per lap until the car will not make the apex. That run is over. The one before it is your bracket, and it is usually later than you expected.
- Block 2 — steering. Back to normal entry speed. Mid-corner, add clearly more lock than the corner needs and hold it. Feel the car fail to go where the extra lock points. Then unwind that extra and feel it start turning again. You are provoking the peak on purpose so you know its shape.
- Block 3 — throttle. Same exit every lap. Bring the application earlier by a car length at a time until the rear moves or the car runs wide, then back off one step. That bracket moves with fuel, so re-run it as a separate block at race fuel rather than mixing the two.
Finish with three normal laps. Those are for the realisation, not the practice: you will feel the margin you were leaving, because you now know where the walls are instead of assuming the room is smaller than it is.
Run it as an isolation block with the scoring the beginner drills use, inside a structured practice session rather than bolted onto a race night.
One corner done this way gives you what no physics explanation can: the limit stops being a place you accidentally end up and becomes somewhere you go on purpose.
The limit moves, every corner and inside every corner
Nobody can hand you a number because the number would be stale before you reached the apex. What changes it:
- Speed. In a car with meaningful downforce, the same corner taken faster has more grip available — so fast corners have a higher limit than your slow-corner instincts expect. The hardest one to trust, because it asks you to commit before the evidence arrives. Open-wheelers live on this one, and the Formula sim racing guide covers what it does to braking and cornering.
- Camber and elevation. Banking and compressions add vertical load and raise the limit. Crests and off-camber sections take it away, sometimes right where you are asking the most.
- Tyre temperature and pressure. An out lap, lap three and lap twenty are three different cars. A tyre below its window and one cooked past it both give you less, and they do not feel alike.
- Fuel. Heavier early in a stint, so the exit bracket you found on low fuel is not the one you have on lap one of a race.
- Where the load is right now. Within a single corner the limit at each tyre changes continuously as you brake, turn and accelerate. There is no static answer even inside one corner.
- The surface. Rubber laid down over a session, marbles off line, a damp patch, shade in the braking zone.
So the limit is not a fact you learn once and carry. You re-find it with the same test every time, which is why fast drivers look like they simply know: they are sampling constantly, in small amounts, correcting faster than you can see. For the applied version across a whole lap, the cornering guide covers where to spend your attention.
Grip Limit FAQ
What does driving at the limit mean in sim racing?
It means driving at the point where asking a tyre for more stops giving you more. More steering stops producing rotation, more brake produces lockup instead of deceleration, more throttle produces wheelspin, and more entry speed produces understeer instead of cornering force. The limit is not a target speed or a steering angle you memorise, because it is different in every corner and at every instant within a corner. It is a response going flat, which means the only way to locate it from the cockpit is to ask for slightly more and read whether you got more.
Does driving at the limit mean the tyres should not slide at all?
No, and this is the most common misunderstanding about grip. A tyre pointed exactly where it is travelling produces no lateral force at all. It has to be angled slightly away from its direction of travel so the contact patch deflects, and that deflection is what turns the car. The angle is called slip angle and it is the input, not a mistake. Force rises with slip angle to a peak and then falls away past it. So the question is never whether the tyres are sliding, but whether you are on the productive side of that peak.
What is slip angle and what is the ideal number?
Slip angle is the difference between the direction a wheel is pointing and the direction it is actually travelling. Lateral force builds with it up to a peak, then falls off. There is no single ideal figure worth publishing: the peak sits at a different angle for a slick and a road tyre, a cold tyre and a hot one, a loaded outside front and an unloaded inside rear, and it shifts with pressure, surface and the tyre model your sim uses. There is also no slip angle readout in the car, so a number would not help you drive.
How do you know when you have reached the grip limit in a sim?
Four channels, and none is equally reliable in every car and sim. The wheel gets heavier as the front tyres load laterally; in most tyre models that build levels off a little before the fronts reach peak grip and the wheel goes light past it, so treat the flattening as a warning that the peak is close rather than an exact marker. In sims that tie tyre sound closely to slip, the sound changes between rolling below the peak, working at it, and sliding past it. The car's response lags your hands more the closer you get. Telemetry confirms all of it afterwards, most usefully as steering angle that keeps rising while lateral acceleration does not. How much of the first channel reaches your hands depends on the sim, your wheelbase and your force feedback settings.
Why does adding more steering not fix understeer?
Because understeer usually means the front tyres are already at or past their peak slip angle. Past that peak, more slip angle produces less lateral force, so extra lock makes the car turn less than it did before you added it. You read that as needing more still, the loop closes, and you finish the corner with a great deal of lock on and a car pointing straighter than your hands. The correct response is to take lock out, which brings slip angle back down and lets the front recover force. Usually the real cause is entry speed or brake pressure.
Why can I not brake and turn at the same time in sim racing?
Braking and cornering spend the same grip budget at the same tyres. Use all of it slowing down and there is nothing left to change direction with, which is why a car will not turn while you are hard on the brakes. The trade is not linear though, and that matters. The envelope is closer to a circle than a triangle, so releasing the first quarter of your brake pressure frees a large majority of the available cornering grip, while releasing the last quarter frees very little. That curvature is the physical reason trail braking works.
How do I practise finding the limit without crashing?
Bracket it deliberately in one corner with run-off, changing one variable per block and with lap timing off. Run three laps braking clearly too early so you know what underdriving feels like, then move the brake point later a car length at a time until the car will not make the apex. That run is over the limit and the one before it is your bracket. Repeat separately for steering, by adding clearly too much lock mid-corner, and for throttle timing on exit. Finish with three normal laps to feel the margin you had been leaving.
Can you be at the limit and still be slow?
Yes, and it is common. Grip at a tyre rises more slowly than the vertical load put through it, so when load moves onto the outside pair the outside gains less than the inside loses, making load transfer a net cost across the axle. An abrupt input moves load faster and further, so an abrupt driver reaches the limit of a smaller total than a smooth driver in the same car. Both are at their limit; one has a higher limit to be at. That is why smoothness is a physical claim rather than a matter of style.
This guide is part of the free library at GitGud Racing Academy — an online sim racing academy built around weekly lap reviews, structured courses, drills and training tools.
Train this the right way
Reading is step one. Build it into muscle memory with structured, car-specific courses and personal lap reviews from a coach — inside the Academy.
Join the Academy · $35.99/mo incl. VATWatch the full video on YouTube